Remembering 1970’s Halloween

candybags

A selection of little treat bags, circa 1970s

I’ve been traveling down Memory Lane lately. My Trick-or-Treating heyday was in the 1970’s…from ages four – 11. By the time I got to junior high, it wasn’t cool to trick-or-treat anymore, and we shifted to house Halloween parties or dances.

Not that we didn’t have house parties in those days, too. As I wrote about in a Halloween post last year, my mother made tons of homemade pizza and offered bowls of chips, candy, and cups of soda for some of our famed parties and haunted house in the camp each year.

AlcProfHalloween1
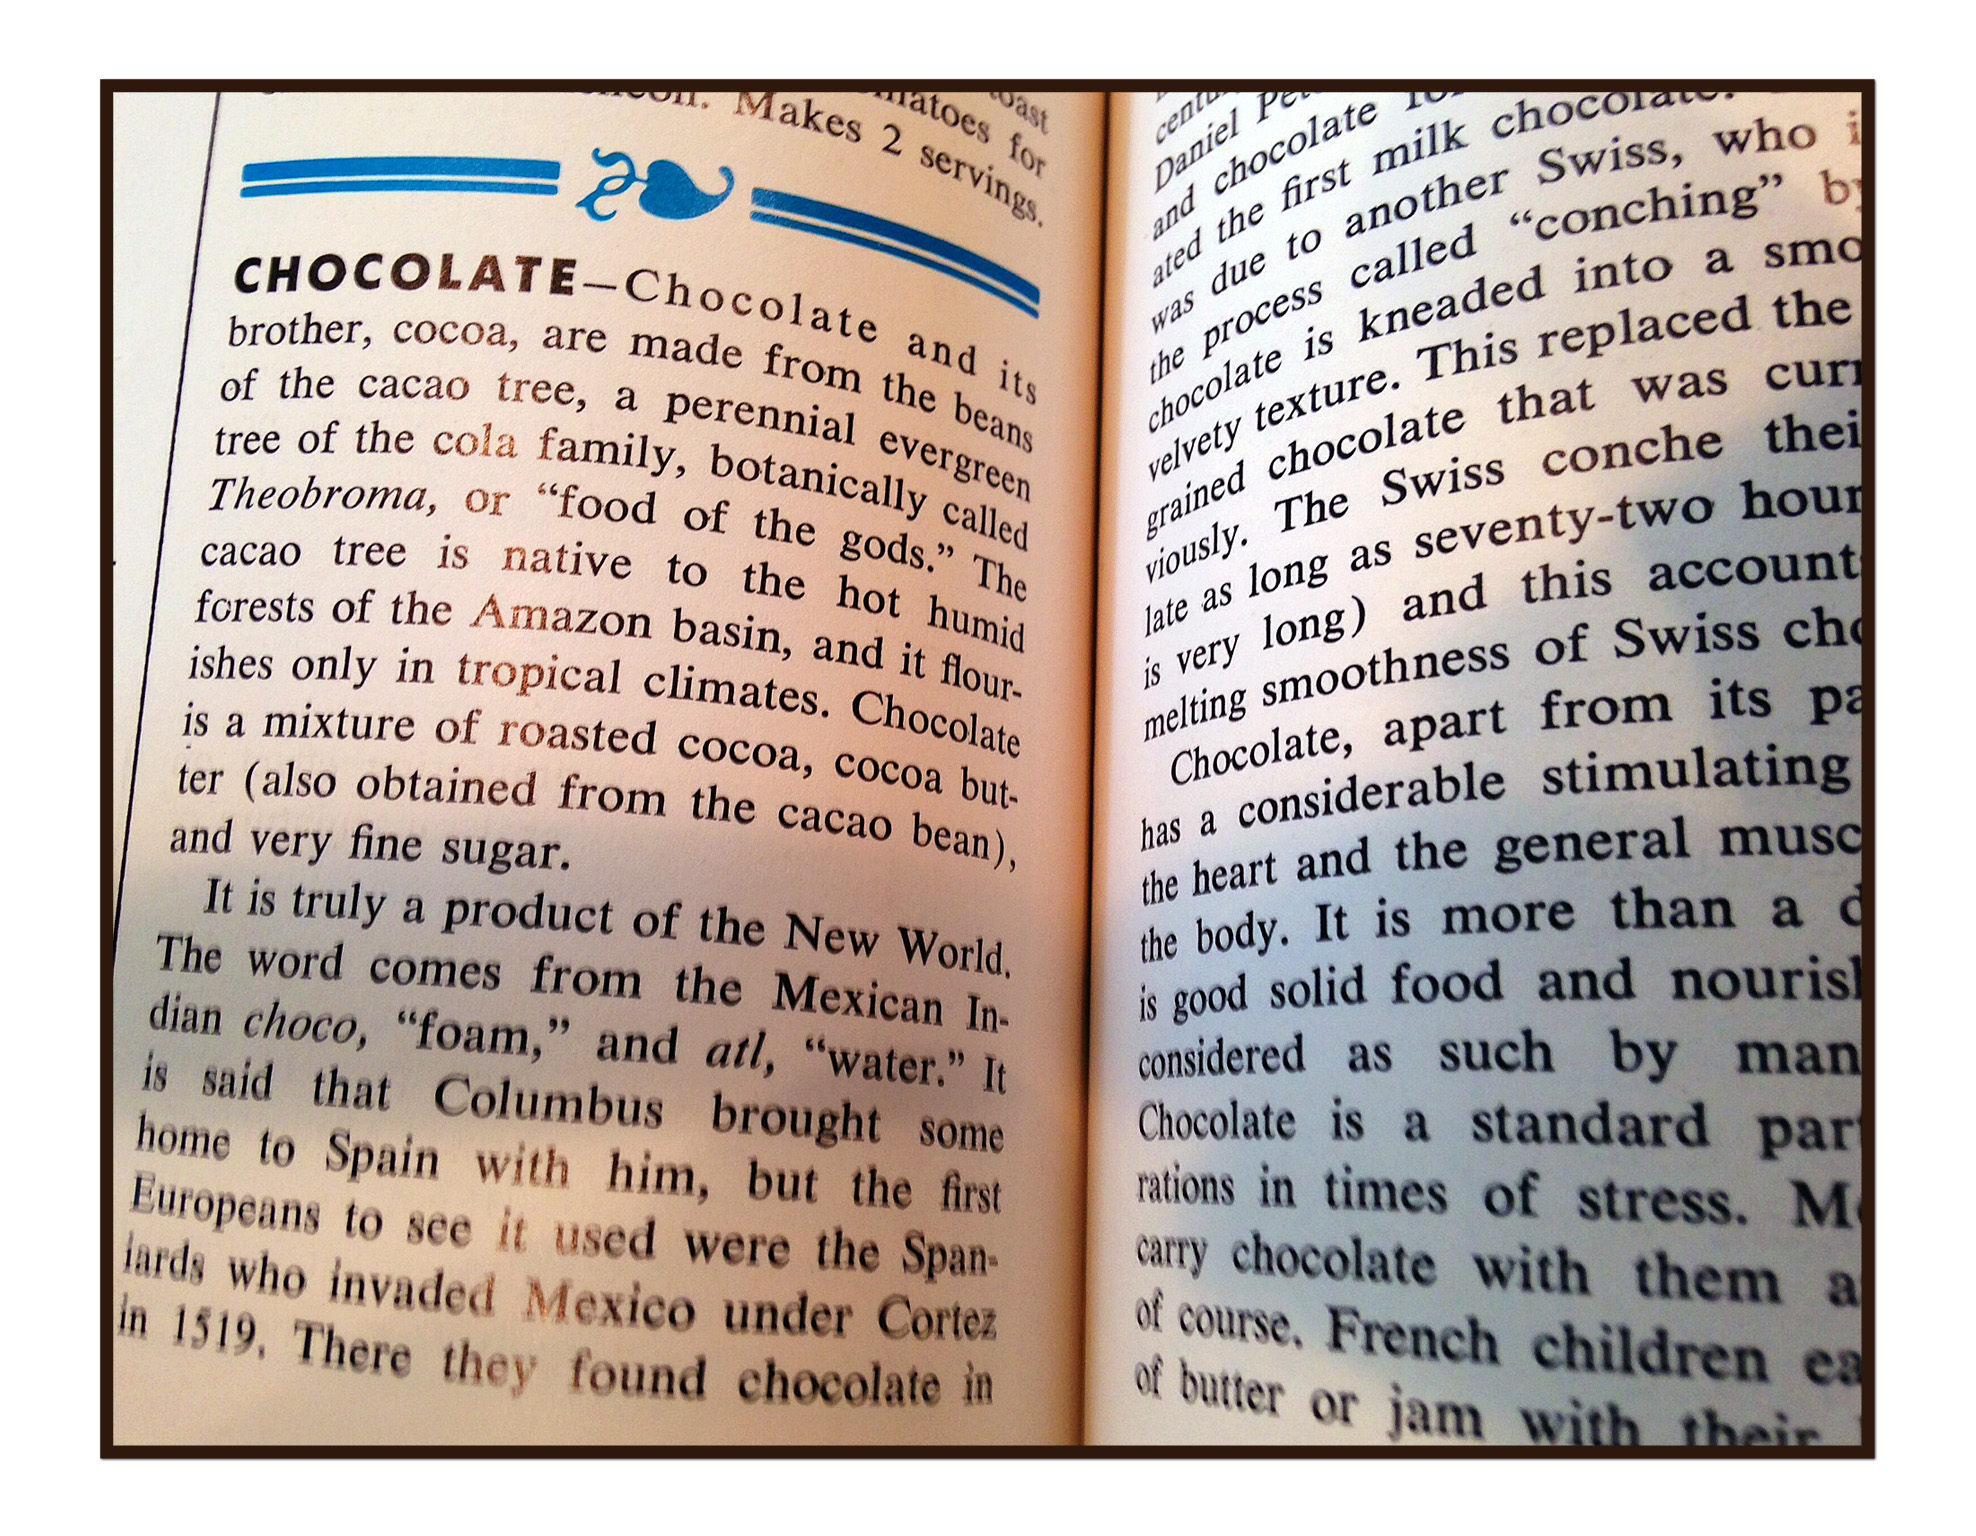
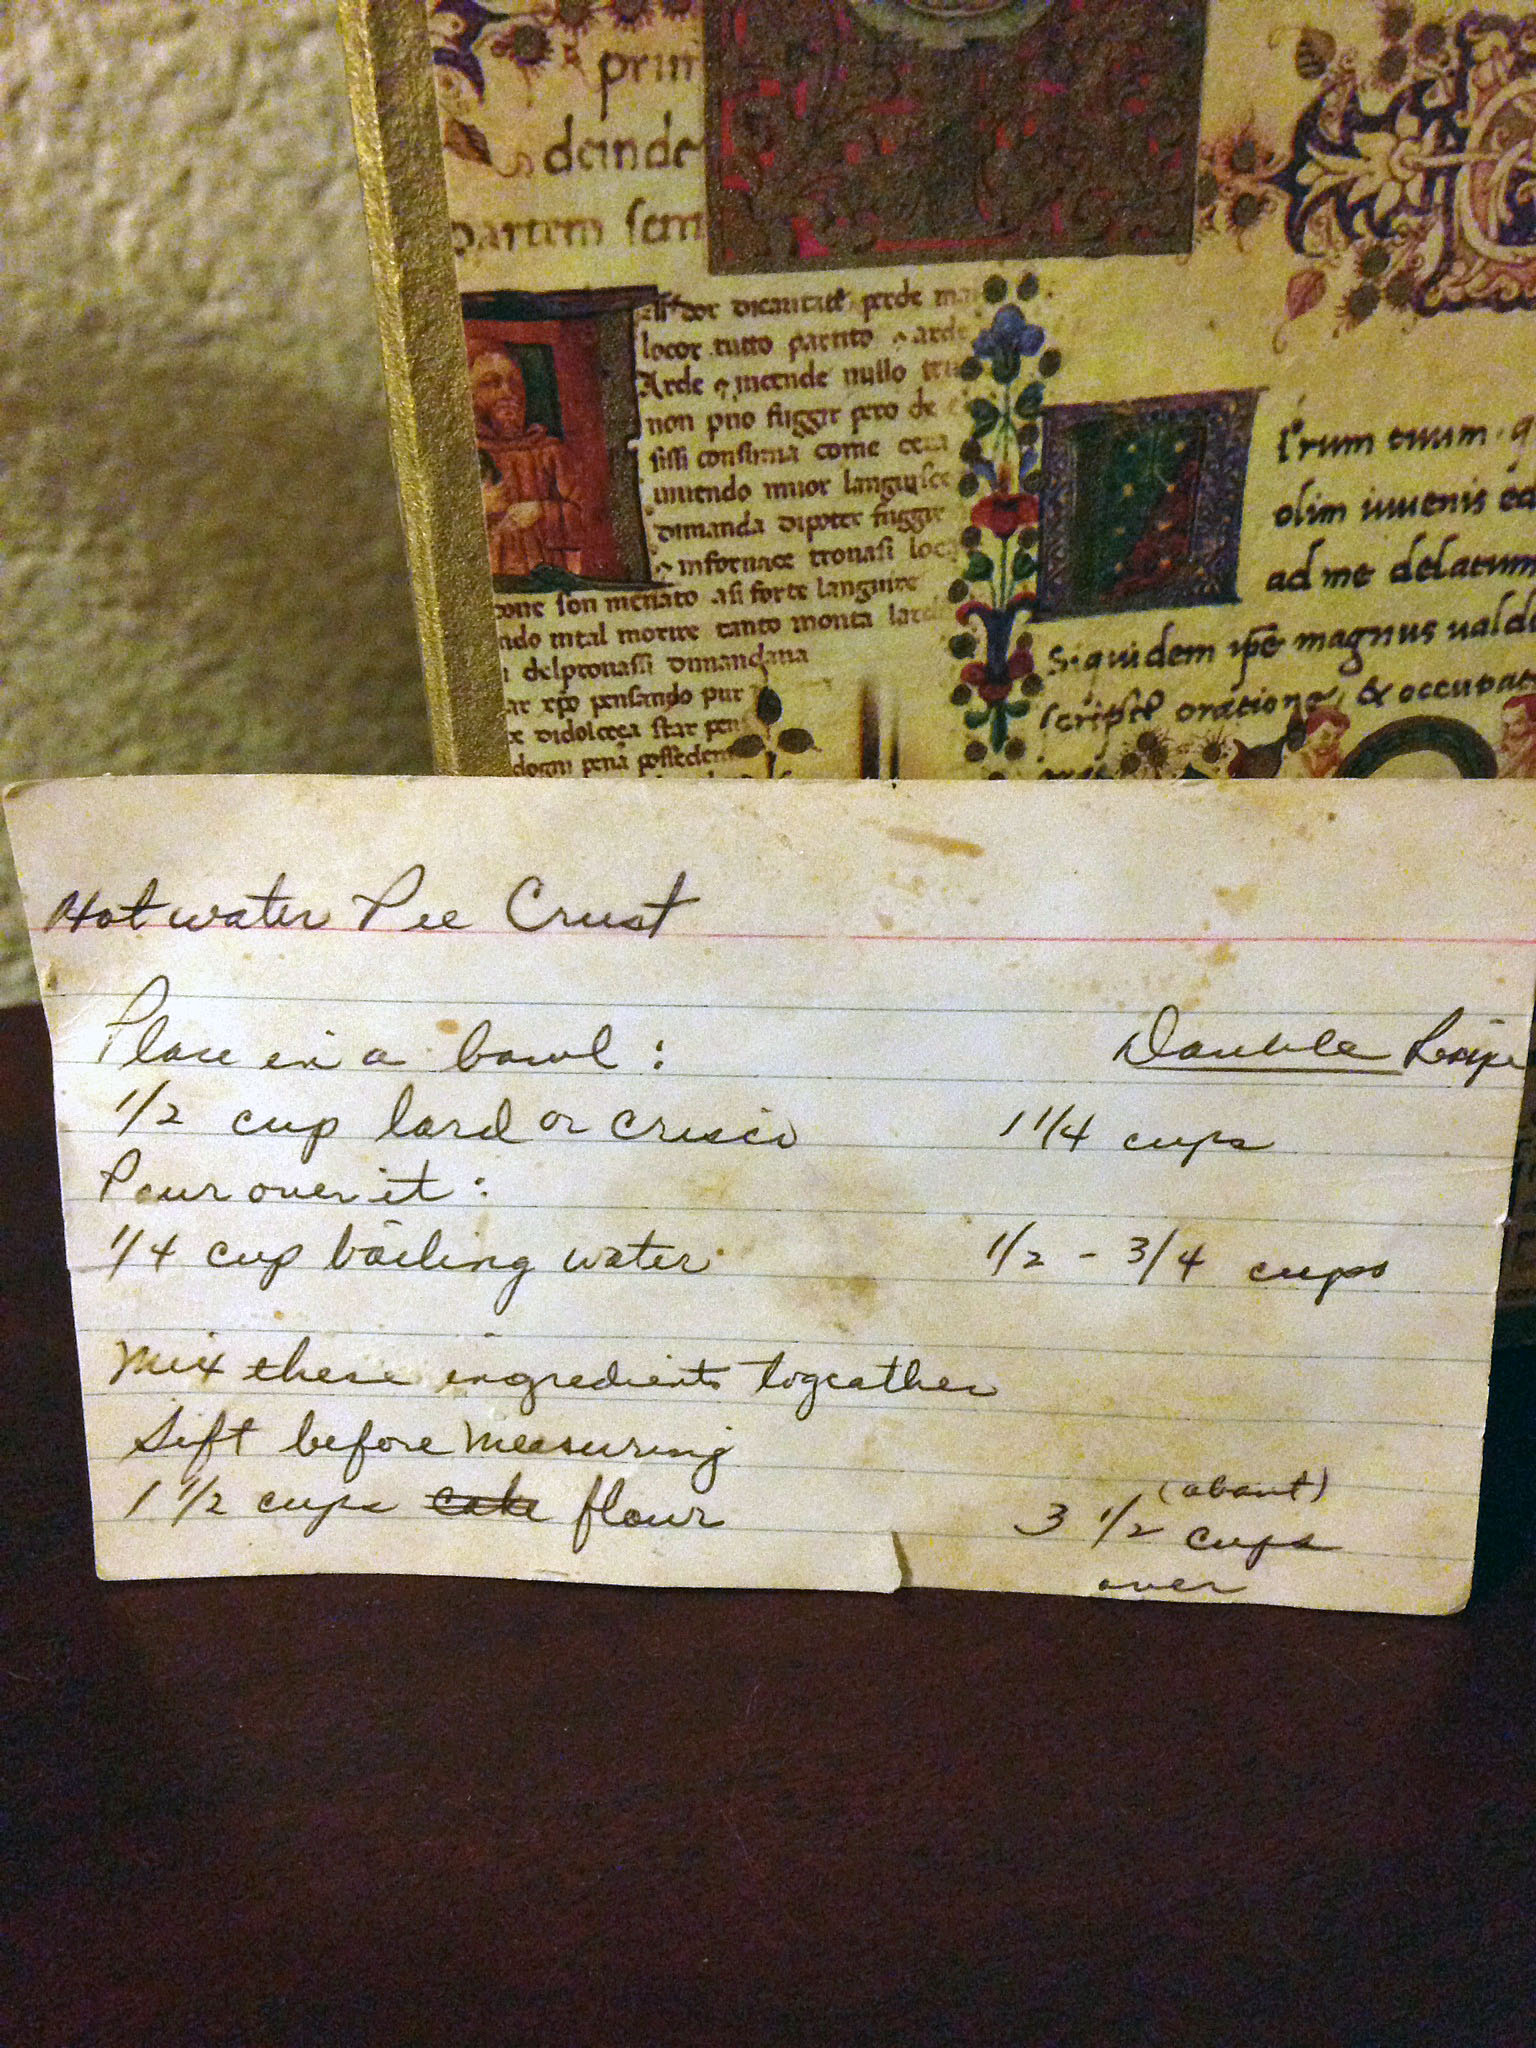
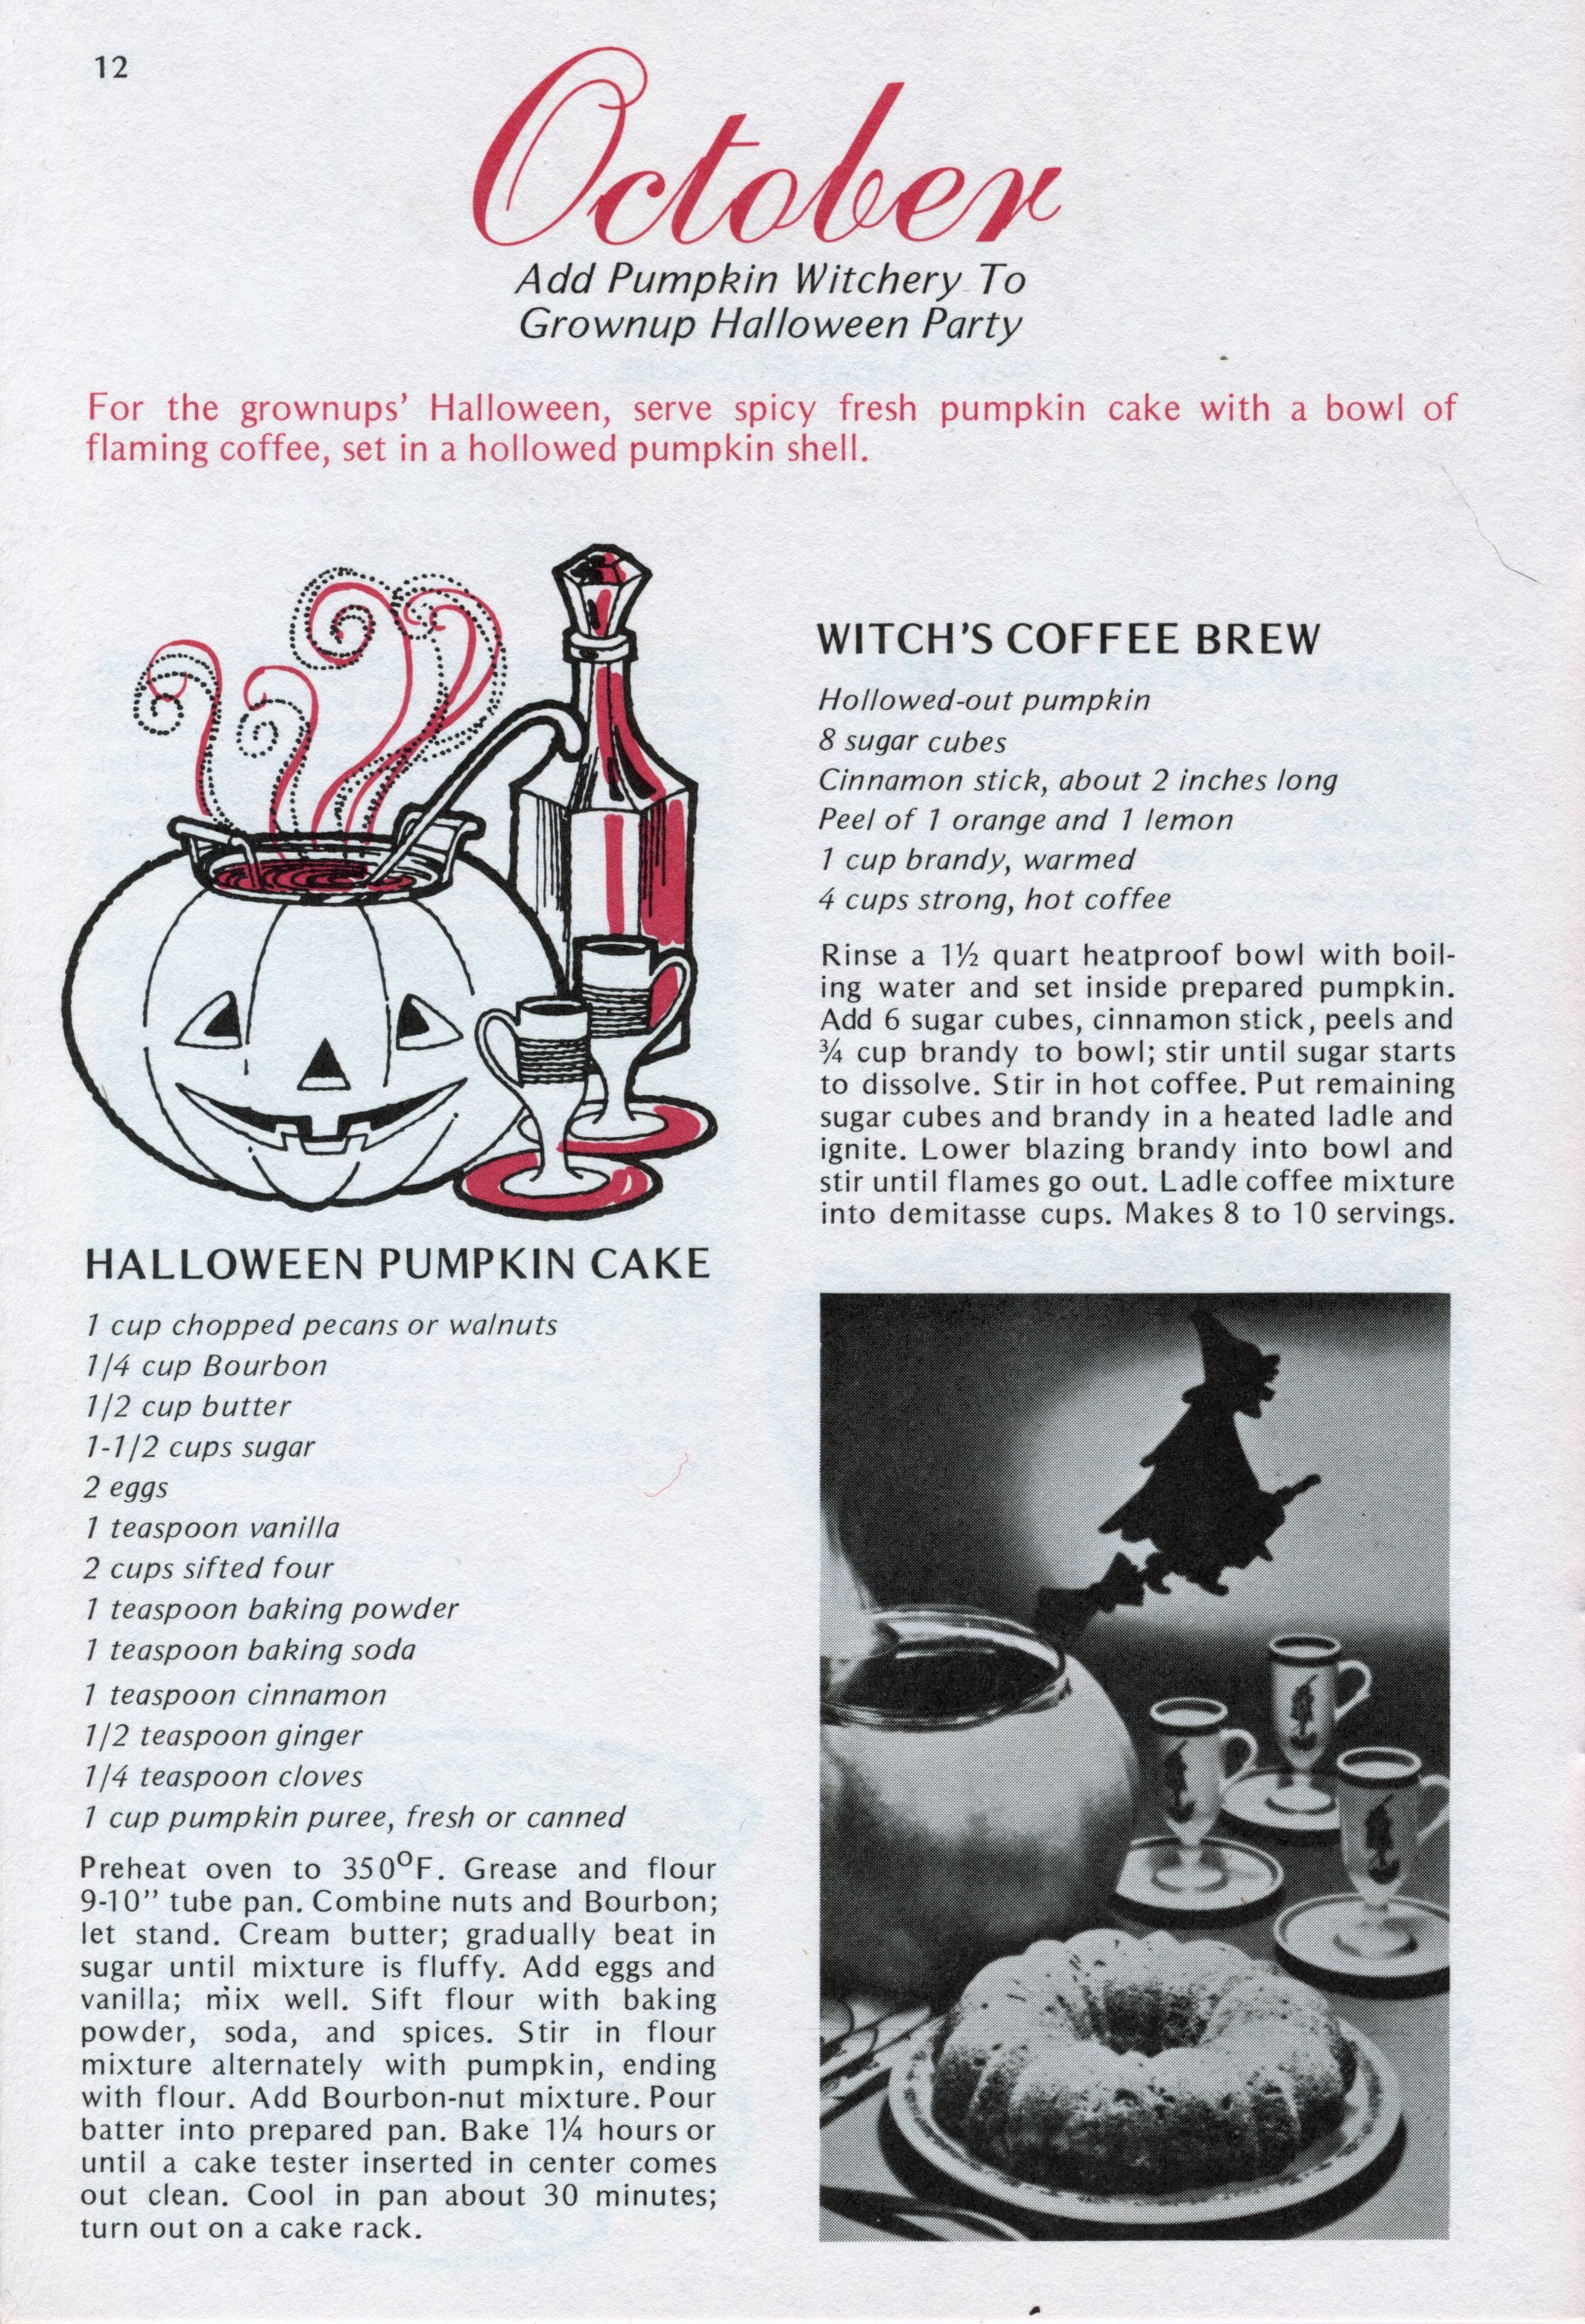
Here are a couple recipes posted in an pamphlet, circa 1975. I might have to try making that cake!

brachs_12Candies like these were common, as were unwrapped sorts, like mallow pumpkins and candy corn, tossed in our trick-or-treat plastic pumpkins by the handful.

Ad from 1975I saw ads like this all the time. It’s amazing how prices have changed in just a few decades!

d0b361383f73f911b1b2002699b548b529795b7b54425e850af721b4394892e5cadb4969df31abfdb959395fc54d48c49080e724f2cf044bf66d75d25448221e
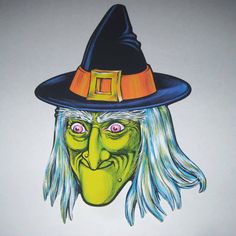
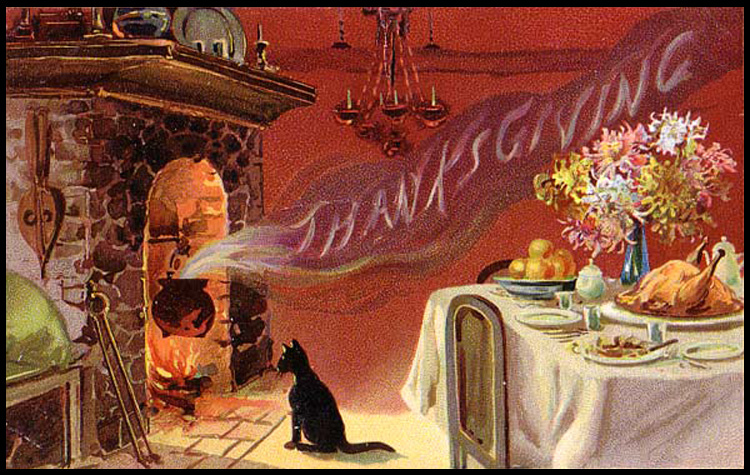
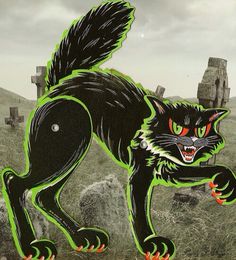
There was an abundance of Witch and other Halloween decorations that had a definite 70’s flair, though it was a favorite activity each autumn to pull out the colored construction paper and fashion jack-o-lanterns, ghosts, black cats in front of yellow moons, witches flying, and spooky trees – all of which were hung on the windows or walls in the house…

IMG_2596I had this exact decoration hanging in my home and probably another one just like it hanging in our classroom, on one of the windows.

witchBecause my mother hand-sewed all of our dance costumes, bedspreads, and curtains, as well as some of our clothes (which is a feat in and of itself, considering the time constraints in a household of nine, with three meals a days and loads of laundry that had to be spaced out because of the well water issues), some years we got to select a box-packaged, store-bought costume come Halloween.

830ee5b332a2f04d42b638374b695067
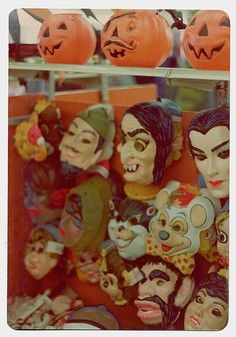
On those special occasions, choosing our costumes at the local 5 and Dime was a trip much anticipated!

We’d get to wear our purchase, once for the school party and once for trick-or-treating. Then they were packed carefully away, since often, we’d have to go back to the old costumes and choose from them in future years; as an adult, I know that it must have been because money was especially tight on those Halloweens, but when I was a kid, it was just something that needed to happen periodically. We never complained.

BWx20x7ex202505_3LI had this “gypsy” one, one year.

ae3d182e66ce5a13357e59e893526f34My sister, who was always more “princess-like” than I was – beautiful, fine-boned, and blond – wore one very much like this.

I can still smell the plastic scent of the mask and feel the slight condensation from breathing through the always-too-narrow nose holes as we participated in the classroom party or  ran door to door Trick-or-Treating on a crisp Halloween night.

It was an innocent time, especially in my earlier years. The whole scare about razor blades in apples and medication or drugs tainting candy didn’t get started until nearer to the time I was getting too old to participate in candy-gathering…and of course home-baked goods were still always allowed to be brought into school for classroom parties and treats.

beistle-halloween-decoration-black-cat-moonAs the day approaches this year, I’m hanging some decorations and getting into the spirit, hoping to give some children the same happiness when they trick-or-treat at my door that I felt on those Halloween nights long ago. 🙂

Do you have any treasured Halloween memories to share? I’d love to hear about them in the comments!

Quick and Easy Meatloaf (like Ma Used to Make)

I have two daughters. One loves meatloaf and the other hates it. So on  nights when the meatloaf-lover is home for supper and her sister isn’t, I like to whip it up for her, which on a work night takes a little planning ahead, since the most difficult part of this recipe is the 45 minutes – an hour it takes to bake.

Pre-heat the oven to 375 degrees.

In a large bowl, mix together:

1 – 2 lbs of ground beef or turkey (or a combination thereof) I tend to use grass-fed beef if I go that route, for less fat and better nutrition.

1 – 2 whole eggs

1 TBSP each of garlic powder and onion powder

1 tsp salt

1/2 tsp pepper

1/2 – 3/4 cup bread crumbs (I use panko seasoned crumbs)

1/2 cup tomato sauce (I usually open a 15 oz can, seasoned or plain, your choice). Reserve another cup of the sauce for the top of the loaf.

Optional: 2 TBSP of Worcestershire sauce

imageAfter mixing, form into an oblong loaf (sort of an exaggerated egg shape…longer and flatter is best for even cooking) and place into a bread pan, or a meatloaf pan, like the one I have here, with a little “rack” that lifts the finished loaf out when done.

imageMy mother always used green pepper slices for garnish along the top, so that’s what I like to do too. Pour the reserved tomato sauce over the top. This keeps the loaf nice and moist as it’s baking.

Put it in the oven, and in about an hour, you have your main course! I often use that time to make the side dishes – usually peeling and boiling potatoes for mashed potatoes, and some fresh green beans or peas.

imageIt’s a great autumn or winter meal!

Do you have some favorite additions to meatloaf YOU make? I’m always looking for new tastes to try, so please share in the comments! 🙂

Easy Baked Apples (Courtesy of Clara’s Great Depression Cooking)

image

The prepared apples before they go in the oven

It’s springtime where I live, but it’s still very chilly (in the 20 degrees farenheit range) and therefore still suitable for baking all sorts of things. While apples are traditionally an autumn fruit, for me, baked apples are good any time of the year.

This recipe is both simple and delicious. And it’s been around a while. I’ve made baked apples before, but this particular incarnation of them is courtesy of a lovely woman named Clara, who had a series of “Great Depression” cooking videos and cookbooks, in conjunction with her grandson. She lived in upstate New York, and although she has since passed (at the ripe age of 98), her work lives on. Here’s a link to the website that tells all about her: It’s called Great Depression Cooking With Clara.

So here is the simple recipe:

Wash, dry, and core three or four large apples.

Fill the cavities with 1 pat of butter and as much cinnamon sugar (three parts sugar to one part ground cinnamon) as they can hold. Dot with a pat of butter.

Put into a pan; pour in a little water to prevent burning, and bake at 350 degrees for about 30 minutes. Let cool a bit and eat!

You can watch Clara in action making these delicious and nutritious treats right here. I’m telling you, her videos are addictive, not only because of the simple recipes but also because she weaves in little memories of her and her family’s experiences during the Great Depression. She was such a wonderful, down-to-earth woman; I only wish I’d been able to meet her in person. Enjoy!

Succulent Roasted Chicken Breasts

image

Succulent, roasted chicken breasts

This is the easiest recipe for healthy and tasty roasted chicken that I’ve ever found. It’s based on Mediterranean principles, so it does use a liberal amount of extra virgin olive oil. However, if you remove the skin before eating, you won’t be consuming most of that fat.

We have these at least once a week at our house, and they make great leftovers or a moist chicken salad or chicken for soup.

It only requires a few ingredients:

  • two to six large chicken breasts with skin and bone
  • about a half cup of extra virgin olive oil
  • salt
  • pepper
  • garlic powder
  • onion powder
  • dried rosemary

That’s it. Oh, and about an hour of time.

Preheat your oven to 400 degrees.

imageLine a shallow baking pan with foil and spritz with non-stick cooking spray.

Place the rinsed and dried chicken breasts evenly on the pan.

imageDrizzle with the olive oil. If you want an evenly browned and crisped skin, rub it across the skin with your fingers or the back of a tablespoon.

image

Sprinkle generously with salt, pepper, garlic power, and onion powder.

imageTake about a tablespoon of dried rosemary in your hand and crunch it up to make smaller pieces and release the fragrance and flavor. Sprinkle across the chicken.

imagePop it in the preheated oven for about an hour – and you have a sizzling, succulent main dish!

Quick and Easy Lasagna

Baked-Lasagna-photo-by-Sarah-Franzen-1024x682

Photo courtesy of Sarah Franzen

So, I must be on an Italian food kick lately (maybe it’s the wintery weather that inspires me!), because I made this over the weekend for a six person, family pre-show dinner (we had lots of leftovers). It’s a great recipe for feeding a crowd (just make two pans to feed up to 18 people) and a lot easier and quicker to make than most people think, especially if you opt to use the “no-boil” lasagna noodles.

The pictures in the steps of the recipe below feature the traditional kind, but that was only because my husband “couldn’t find” the no-boil kind in the store. Other than adding about 15 minutes to the prep time, using traditional noodles doesn’t change anything in this recipe.

Here are the ingredients:

  • 1 package of lasagna noodles (boiled if traditional, or right from the box if the no-boil kind)
  • 1 – 2 regular-sized jars of your favorite sauce
  • 1 lb. lean ground beef (or turkey)
  • 1 lb bulk (uncased) sweet (or hot, if you like spicy) Italian sausage
  • 1 TBSP garlic powder
  • 1 TBSP onion powder
  • 1 tsp dried oregano
  • 1 tsp dried basil
  • 1 tsp ground pepper and salt
  • 1 lb part-skim ricotta cheese
  • 1 whole egg
  • 1/2 lb. 4% milkfat cottage cheese
  • at least 1 lb of grated mozzarella cheese

Preheat the oven to 350 degrees.

imageIn a large sauce pan, heat a TBSP olive oil on medium high heat and add your ground beef and Italian sausage.


imageCook and stir until browned, but be careful not to burn. If your meat isn’t especially lean, be sure to drain off any fat before the next step.

imageAdd in all your spices and your jarred sauce.

I sometimes throw in some diced tomatoes, canned or fresh, if I want a little more texture.

Let it cook until it comes to a simmer, with little bubbles, but not a full boil.

Set aside for a bit while you ready the noodles (boiled and drained for traditional, removed from the package for the no-boil kind).

Also, at this point it’s a good idea to get the cheeses out.

Get out a rectangular pan. image9×13 inches is great. Mine is glass, which I think works better than metal, but I’ve seen other use the coated metal pans just fine.

imageSpread a thin layer of the meat sauce on the bottom of the pan.


image

In a medium mixing bowl, combine the ricotta cheese (NOT the cottage cheese), the basil, oregano, and egg. Mix well.

Now you’re ready to assemble the lasagna.

image

Atop the thin layer of sauce in the bottom of the pan, arrange noodles length-wise and slightly overlapping.


imageSpread half the ricotta mixture on the noodles, followed by half the cottage cheese. That’s a secret ingredient, as it makes the cheese part of the lasagna really creamy. Sprinkle the whole with a little of the shredded mozzarella. Cover all this with another thin layer of meat sauce.

imageMy sweet Mama taught me to put the second layer of noodles on horizontally (another neat trick) to help the lasagna maintain its structure on the plate, once it’s baked and sliced. Because the noodles are too long for the width of the pan, every noodle has the opposite end folded under and tucked in. Repeat with another layer of cheese and a layer of sauce, and then a final layer of noodles length-wise again.

imageTop with one last layer of meat sauce, and then sprinkle the rest of the mozzarella on top. I like to put the whole thing on a foil-lined cookie pan, to catch any bubbled-up spills.

Pop it in the preheated oven for about 45 minutes, uncovered for traditional noodles, and covered with foil if you used no-bake noodles.

That’s it! The entire process from start to finished product on the table takes about an hour and 15 minutes. Add a salad or some crusty bread if you want (and a nice glass of red wine!), and you have a great, filling meal that’s enough for a crowd but fit for company, too. 🙂

Some “Cozy” Images of a Favorite Holiday

Vintage-Thanksgiving-Dinner-CardI think I’ve already said I love Thanksgiving as a holiday best of all. Now, the “fictions” that have built, perhaps, over the way it began are a little different, and I’m not going to get into that in this post. I’m talking for now about what the American Thanksgiving holiday has come to be and represent.

It focuses on one of my favorite qualities (Gratitude!) that I’ve been trying to make a more concerted effort to recognize and pay attention to in this life that (as is also true for many of you, I’m sure) has become very busy, work-packed, and sometimes complex in challenging ways.

It’s a day set aside to spend with people you love, eating delicious food, without expectation of giving or getting material presents. There are plenty of intangible gifts given, however, in memories, shared humor, love, and friendship, and to me, those are the best kind. 🙂

thankgiving 1 thanksgivingHere are a couple more images I like for their “coziness” factor. I’ll be a posting a few more in the coming week or two, but for now, since my busy life dictates I have to run to the auto dealer and get some service done on my vehicle, I have to dash and dream of a couple weeks from now and the happy day of Thanksgiving.

If you are from a different area of the world, do you have any holidays that are similar to America’s Thanksgiving holiday? I’d love to hear about it in the comments, if you do!

30 Minute (Delicious!) Italian Meatballs

IMG_00423

photo: courtesy of recipeinnovations.com

While I am not of Italian descent, my sweet, 100% Italian mother-in-law gave me her recipe for homemade meatballs, passed down from her mother, and her mother’s mother, who were all from Ancona, Italy, on the Adriatic Sea.

Her recipe requires overnight preparation and at least an hour of cooking, since simmering the meatballs in a pot of homemade sauce is the final step. However, although her recipe is of course much more authentic and to the trained palate undoubtedly tastes superior, it nevertheless serves as the basis for my “quick”, a bit healthier, and almost-as-tasty version.

The ingredients:

1 lb lean ground beef (or you can use ground turkey)

1/2 cup seasoned bread crumbs

1 whole egg

1/2 cup grated parmesan cheese

1 tsp. salt and pepper

1 tsp. each garlic powder and onion powder

1 tsp. dried basil (or 6 leaves fresh, chopped fine)image


Begin by putting the ground beef in a medium-sized bowl.

imageAdd all of the other ingredients and mix. I suggest hand mixing, since it blends everything more fully, but be sure to remove any rings first! 🙂


For health reasons, I like to bake, rather than pan-fry my meatballs, so I pre-heat the oven to 400 degrees and prepare a pan (mine is round), lining it with foil and sometimes giving it a spritz of non-stick cooking spray for easy clean up.

image


Roll the meatballs out to your preferred size (keep in mind: the bigger the meatball, the longer the cooking time). I like mine this size.

A lb. of ground beef makes 10-12 meatballs, in the size I like.

image


After they’re on the pan and the oven is hot, put them in and bake for 20-25 minutes.


image
They come out nicely browned and ready to pop into sauce, use in a meatball sub, or just eat plain. 🙂

It’s so easy that there’s no reason not to be able to have homemade meatballs even on a busy weeknight after a day of work.

Mangia! And happy eating.

Vintage Cookbooks

cookbook frontI love cookbooks. I must have upwards of 50 of them, tucked in my “cookbook cupboard” or lined on my little “cookbook shelf” under the slot in the kitchen cabinetry where the microwave oven is.

I collect them and enjoy trying recipes from them.

Cook books_edited frame-1

Women’s Day Encyclopedia of Cookery cookbook set

But my all-time favorite is a set my parents gave me about 15 years ago.

It’s the same exact set my mother often used when I was growing up (and my mother, I have to say, is a consummate cook…she can do fancy and five-course, or simple and filling. We had the simple and filling most often when I was growing up because, well, there were nine of us to feed every day, and only one salary).


As a kid, I loved this set, not only because its publication year was the one in which I was born, but also because it came in encyclopedia form, and I was the kind of kid who read everything. These books are stuffed full of interesting history and information about the various ingredients, foods, and the cultures that inspired them. Plus, the title has Cookery in it. I love that word in and of itself. cookbook closeup

cookbook open2

Luscious pictures of cakes from the “chocolate” section

cookbook open

Awesome 1960’s illustration from the same “chocolate” section


Oh, and it’s got pictures and illustrations, too, all delightfully vintage. Which means, I guess, that I’m vintage too, since the books are as old as me. 🙂


I really enjoy looking up recipes (there’s an awesome homemade custard recipe, pies, breads, holiday foods…and of course recipes from just about every culture in the world that you can imagine, since it’s an encyclopedia of cooking).


corn chowder

Today, I looked in Volume 3 to find a quick recipe for corn chowder, since that’s what my kids really wanted for lunch (and I knew I had the ingredients – or some that were close enough – on hand). A few minor substitutions later (i.e. diced ham instead of salt pork, and regular milk instead of evaporated), and I had lunch ready for them.

Anyone else have a favorite cookbook – or set?

Hearty Mushroom Stew

I fondly call this kind of food peasant fare, hearkening back to my ancestors in Ireland, Germany, and England: meals that are simple, hearty, and satisfying. It’s a dish I adapted from a recipe I stumbled upon online years ago and tweaked to my own liking, perfect for the cooler autumn days we’ve been having (though I’ve also enjoyed it many a time in the midst of a blustery, snowy day as well)

Mushroom Stew 1

Mushroom stew, served with a crusty hunk of bread

Mushroom stew recipe

Serves 4 (hearty portions)

Ingredients

  • 1, to 1.5 lb of Portobello and white sliced or whole mushrooms mixed together (I’ve used just Portobello with fantastic results as well, but the mix of mushrooms adds to the variety of textures)
  • ¼ cup of butter or margarine
  • 1 large sweet (or Vidalia) onion, chopped pretty fine
  • 4 -5 cloves minced garlic (you can use less if you’re not a garlic lover like me)
  • A half teaspoon of thyme powder (or a few springs of fresh thyme taken from the stems and chopped)
  • ¼ cup or so of red wine or beef stock
  • ½ cup of full-fat coconut milk or heavy cream (I prefer the coconut milk because it makes the stew really creamy and adds a hint of flavor that is lovely)
  • 2 green onions, chopped (these provide a dash of color in an otherwise earth-toned dish as well)
  • Sea salt and ground black pepper to taste

Preparation

  1. Heat a large, flat soup pan or skillet over a medium heat. Add the butter or margarine.
  2. Stir-in the onions and garlic. Cook them for a few minutes until they begin to brown.
  3. Add the mushrooms, sea salt and black pepper and give a few stirs. Continue to cook the mixture until the moisture released by the mushrooms evaporates.
  4. Add the wine or stock as well as the heavy cream or coconut milk and stir.
  5. Simmer for a few minutes to thicken and add in the thyme leaves and green onions.

And there you have it! Delicious, healthy, and filling…perfect for chilly weather but good anytime!

Great-Grandma O’Halleran’s Hot Water Pie Crust

Hot water pie crust recipe

Great-Grandma O’Halleran’s Hot Water Pie crust recipe

As you can see from this old recipe index card, I’ve made this pie crust quite a few times. The card is stained with use but only a little worse for wear. The handwriting on it is my dear mother’s, and she copied out this recipe for me from her files, back when I was newly married more than two decades ago.

It’s a different kind of pie crust because unlike most, which use ice water and sometimes butter, this one uses lard (or Crisco, which is what I and my mother have always used) and boiling water. My great-grandmother who was born in Ireland in the 1860’s, Katherine O’Halleran, favored this recipe, and since she lived in my mother’s childhood household and was the primary cook when my mother was a girl in the 1930’s and 1940’s (since her own mother – my Grandma – was away all day working in the cotton mill in Utica, NY), my mother picked it up along the way.

It’s surprisingly easy, adapts to just about any pie, and I never fail to get compliments on the light flakiness of this crust. Except for the very first time I attempted to make it on my own…but that’s a story for another day. 🙂

Here’s the recipe, with instructions for a single or a double crust pie:

Place in a Bowl:

Single Recipe                                                  Double Recipe

1/2 cup lard or Crisco                                     1 1/4 cups lard or Crisco

Pour over it:

1/4 cup boiling water                                      1/2 – 3/4 cups boiling water

Mix the following ingredients together, sifting before measuring (Note: I admit I always skip the sifting part and it doesn’t seem to hurt anything!)

1 1/2 cups flour                                              about 3 1/2 cups flour

1/2 tsps baking powder                                1 1/4 + a little more tsps baking powder

1/2 tsps salt                                                    1 1/4 + a little more tsps salt

Combine the liquid and the sifted ingredients quickly and form into a smooth ball. Roll out.

A few helpful hints: Don’t overwork the dough. Roll out once, on a well-floured surface, with a well-floured rolling pin. I like to gently fold the crust in half to transfer it to the pie dish, but if you’re using waxed paper under the dough when you roll out, you can just carefully flip it over into the pie dish. Cut off excess before crimping the edged with your thumbs. A finished double-crust should look like these two pies:

pies

Two double-crust pies sprinkled with sugar