Spaghetti Squash Made Easy

So, this is my second recipe post in a row, I know. What can I say? I like to cook, and the cooler autumn months make that even more enticing.

You don’t have to like squash to like spaghetti squash. It has a very, very mild flavor, and is a great way to sneak in more vegetables and avoid some of the simple carbs that can make you feel logey (rhymes with hoagie for those unfamiliar with the word. Logey = sluggish, and is a word derived from Dutch, used in the Northeastern part of the US, particularly in NY and MA! 🙂 )

I made some this weekend. It takes a bit of time (1.5 hours), but it’s well worth it.

image
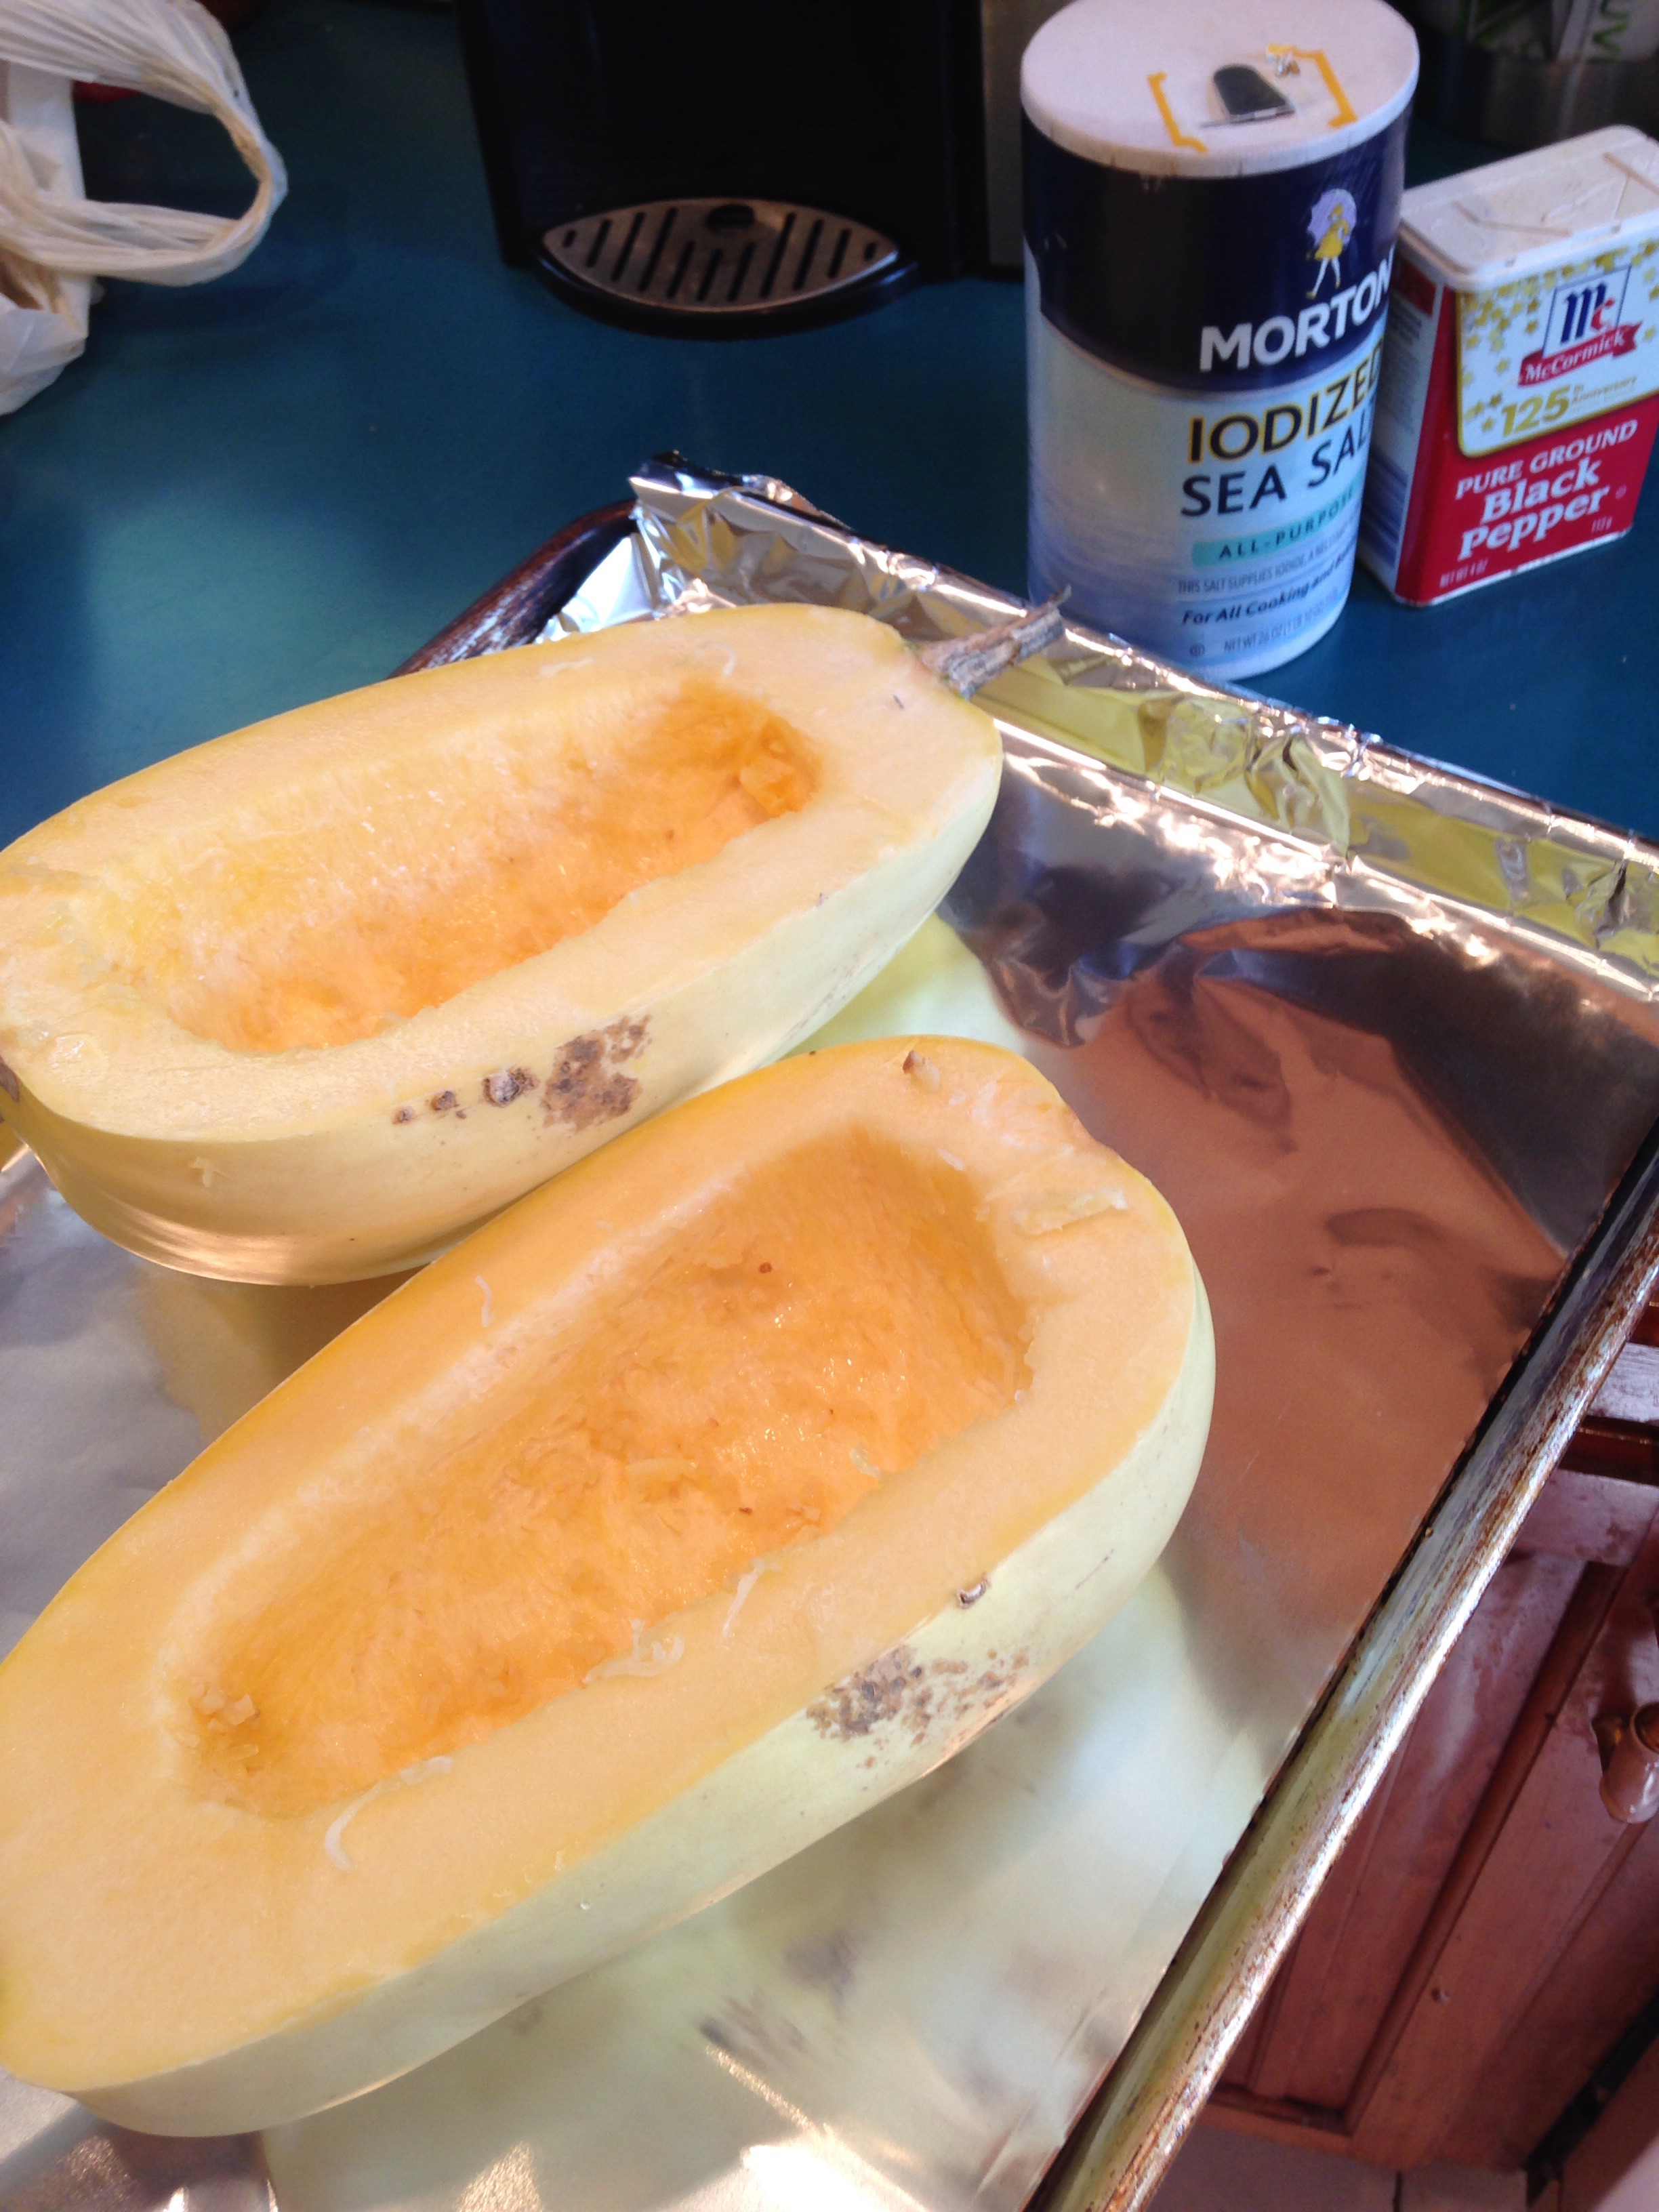
Start by preheating the oven to 365-370 degrees F (depending on how “hot” your oven is), and washing a large, smooth spaghetti squash. Slice it vertically.image

Scoop out the “guts” (very much like removing seeds and fibers from a pumpkin when Halloween carving time comes along) and discard them. Now it’s ready to season.

imageEither slice up some garlic (I like a lot) or buy it pre-chopped from the store, which is what I did, because I didn’t have other garlic handy.

imageNote: if you use pre-chopped garlic, you may have to dry it a bit if you want it to “roast” and turn into those brown bits that taste so good.

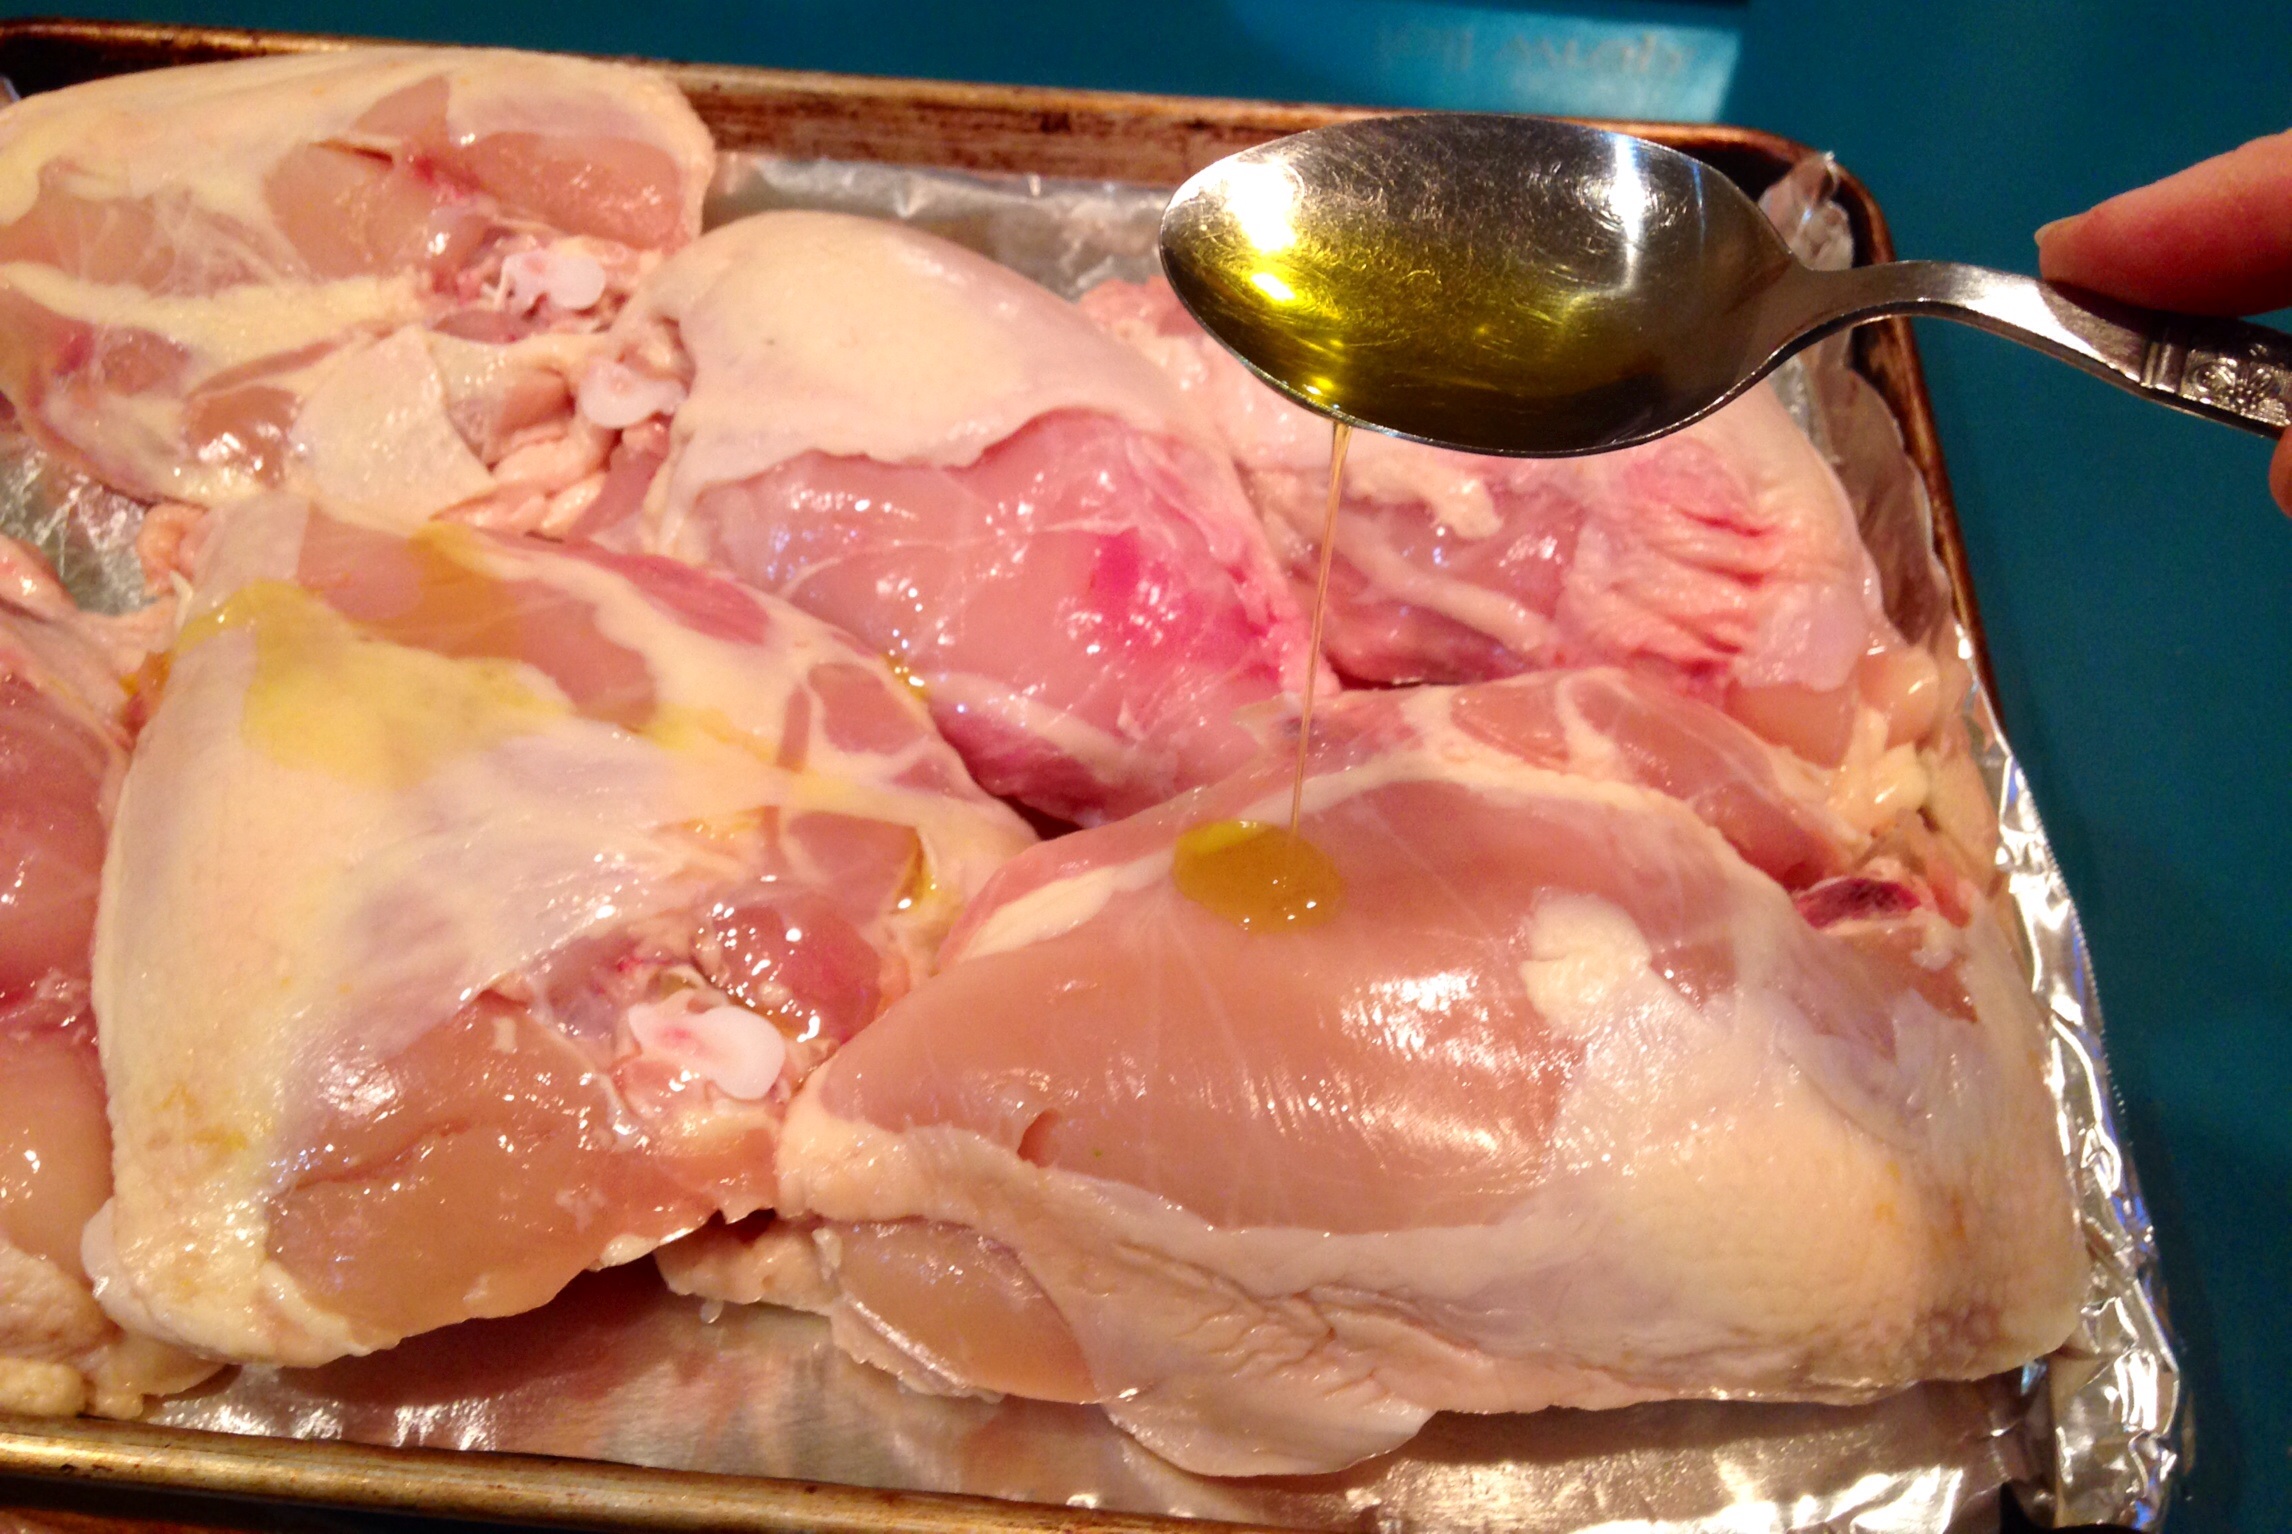
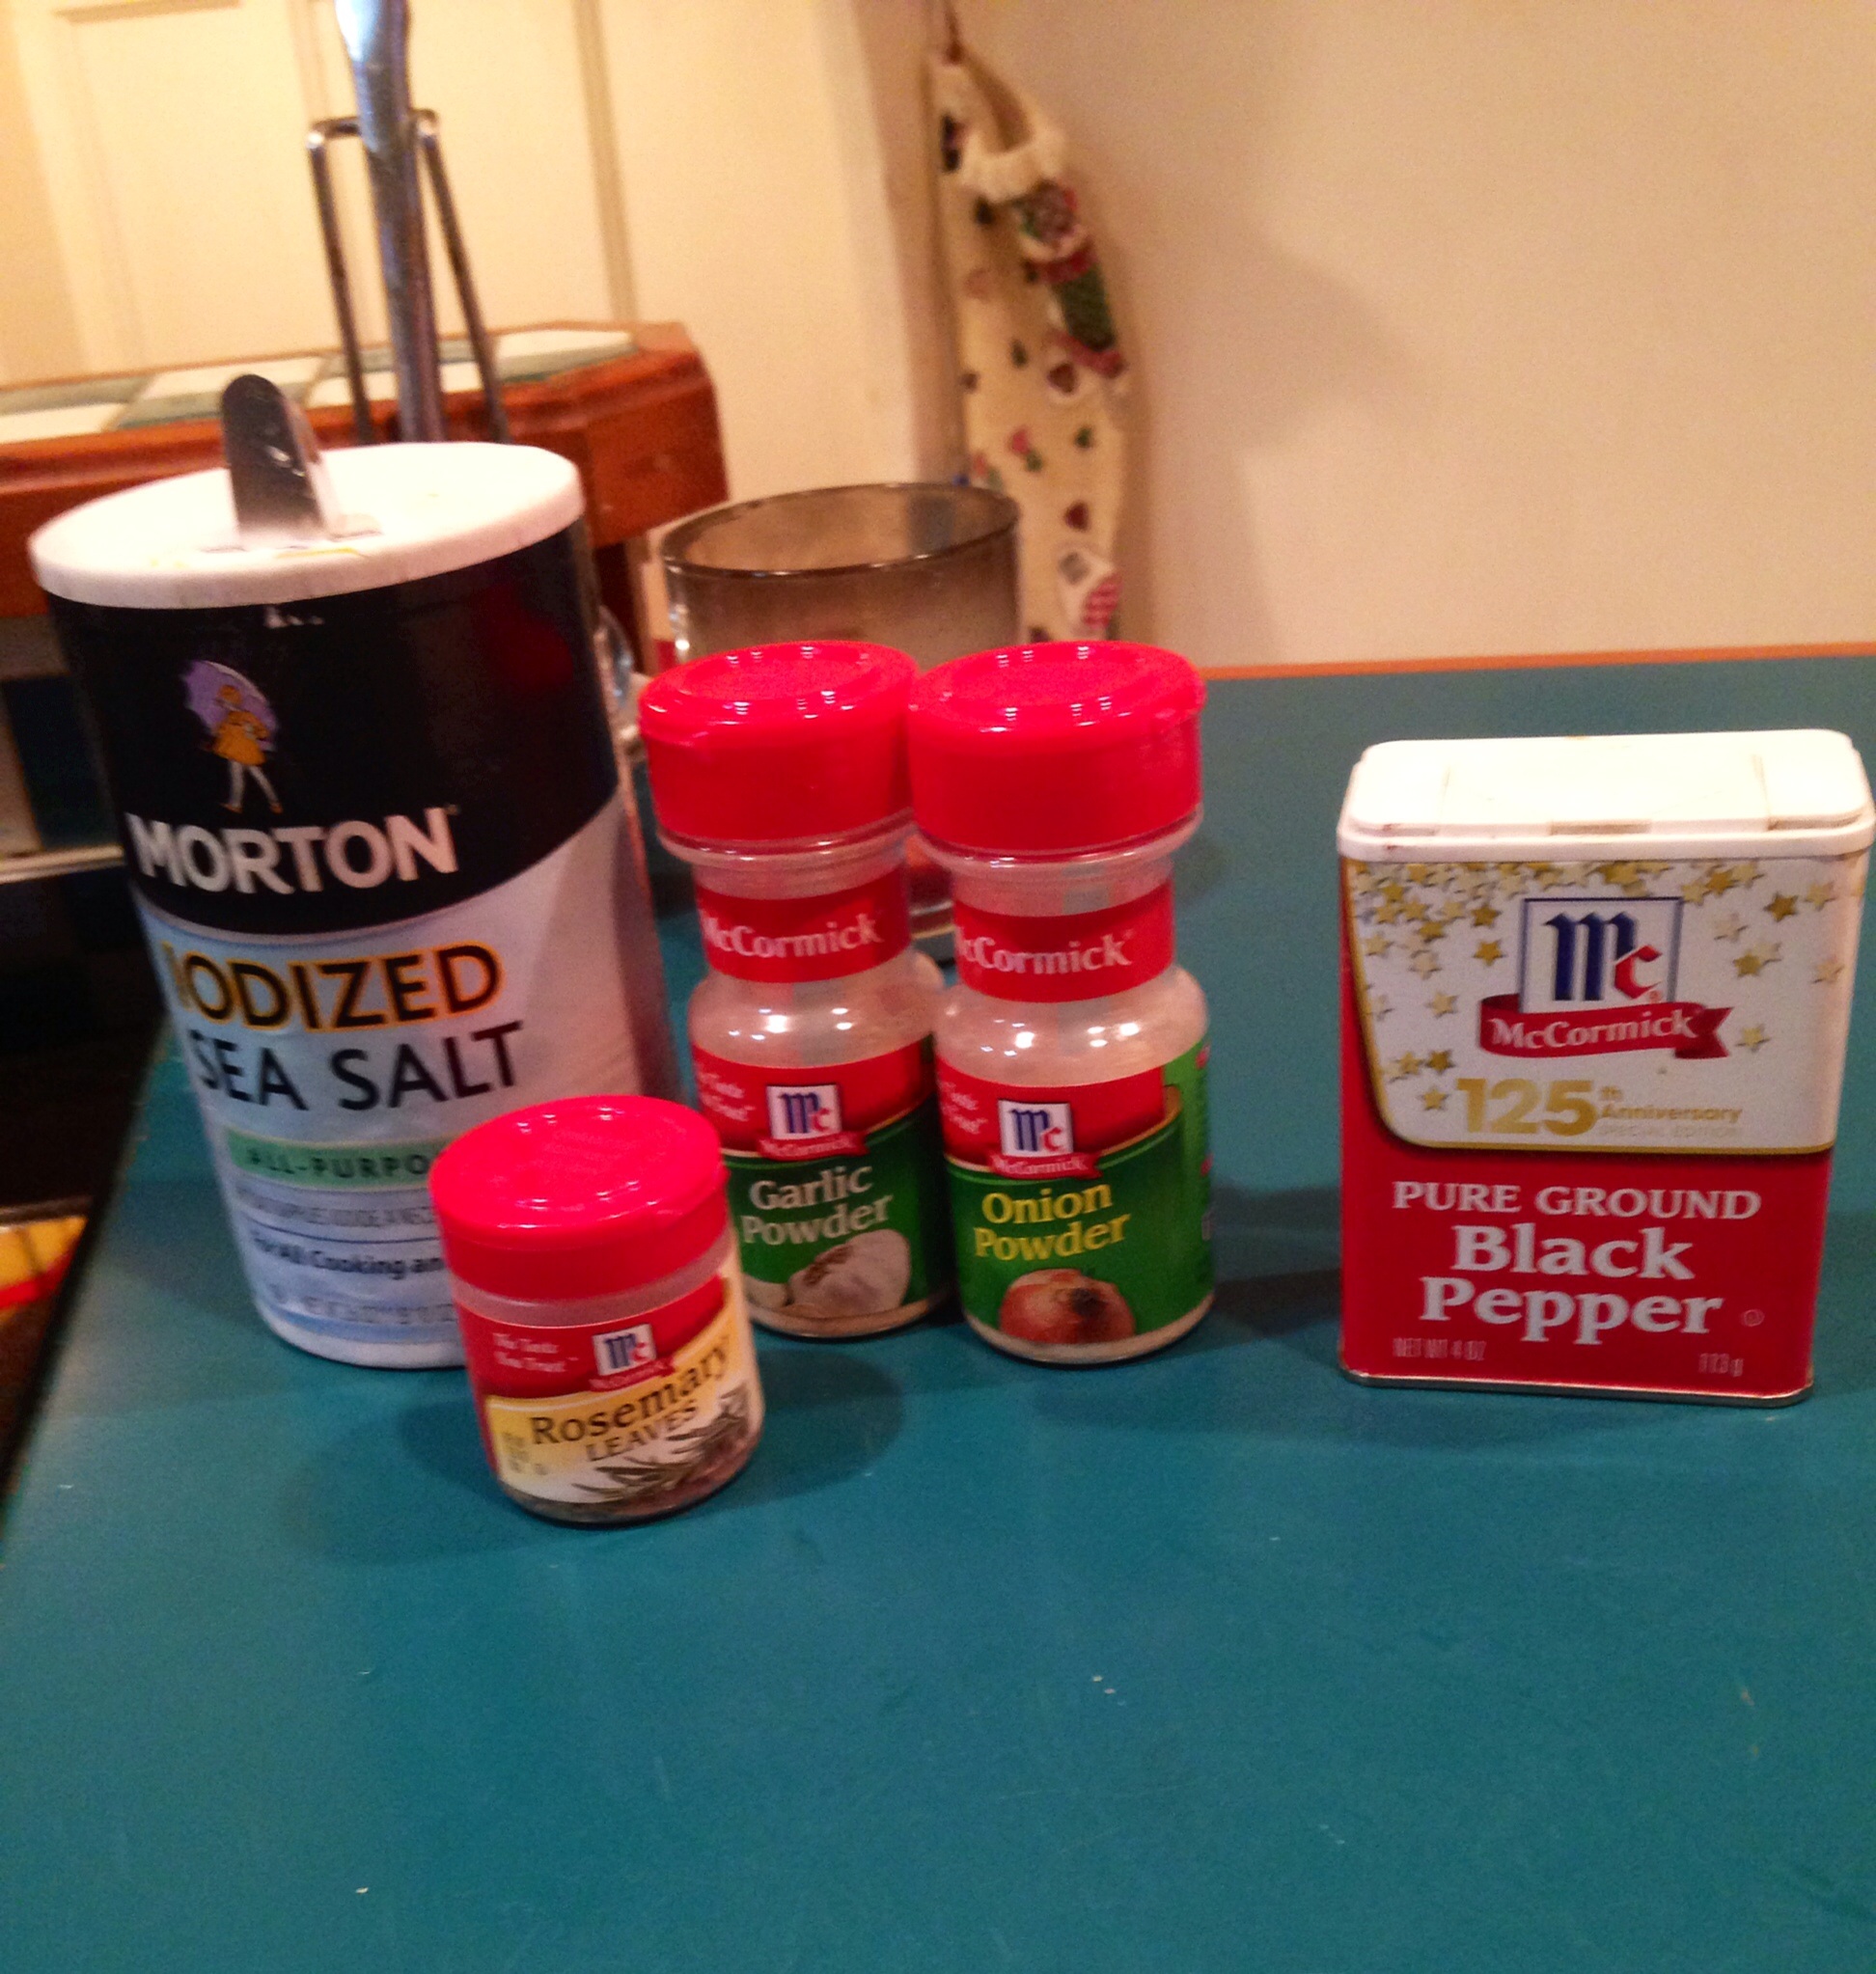
Place the garlic in the cavities of the squash and then sprinkle liberally with salt and pepper. Add a mixture of olive oil and vegetable oil (half and half) to the cavity and smear all over the visible parts of the cut squash.

imageRoast in the oven for about an hour. Mine took a little longer. You’ll know it’s done when the flesh pulls back from the skin without too much resistance and begins to “thread” like spaghetti. Use two forks to scrape all the squash from the inside of each half.

image
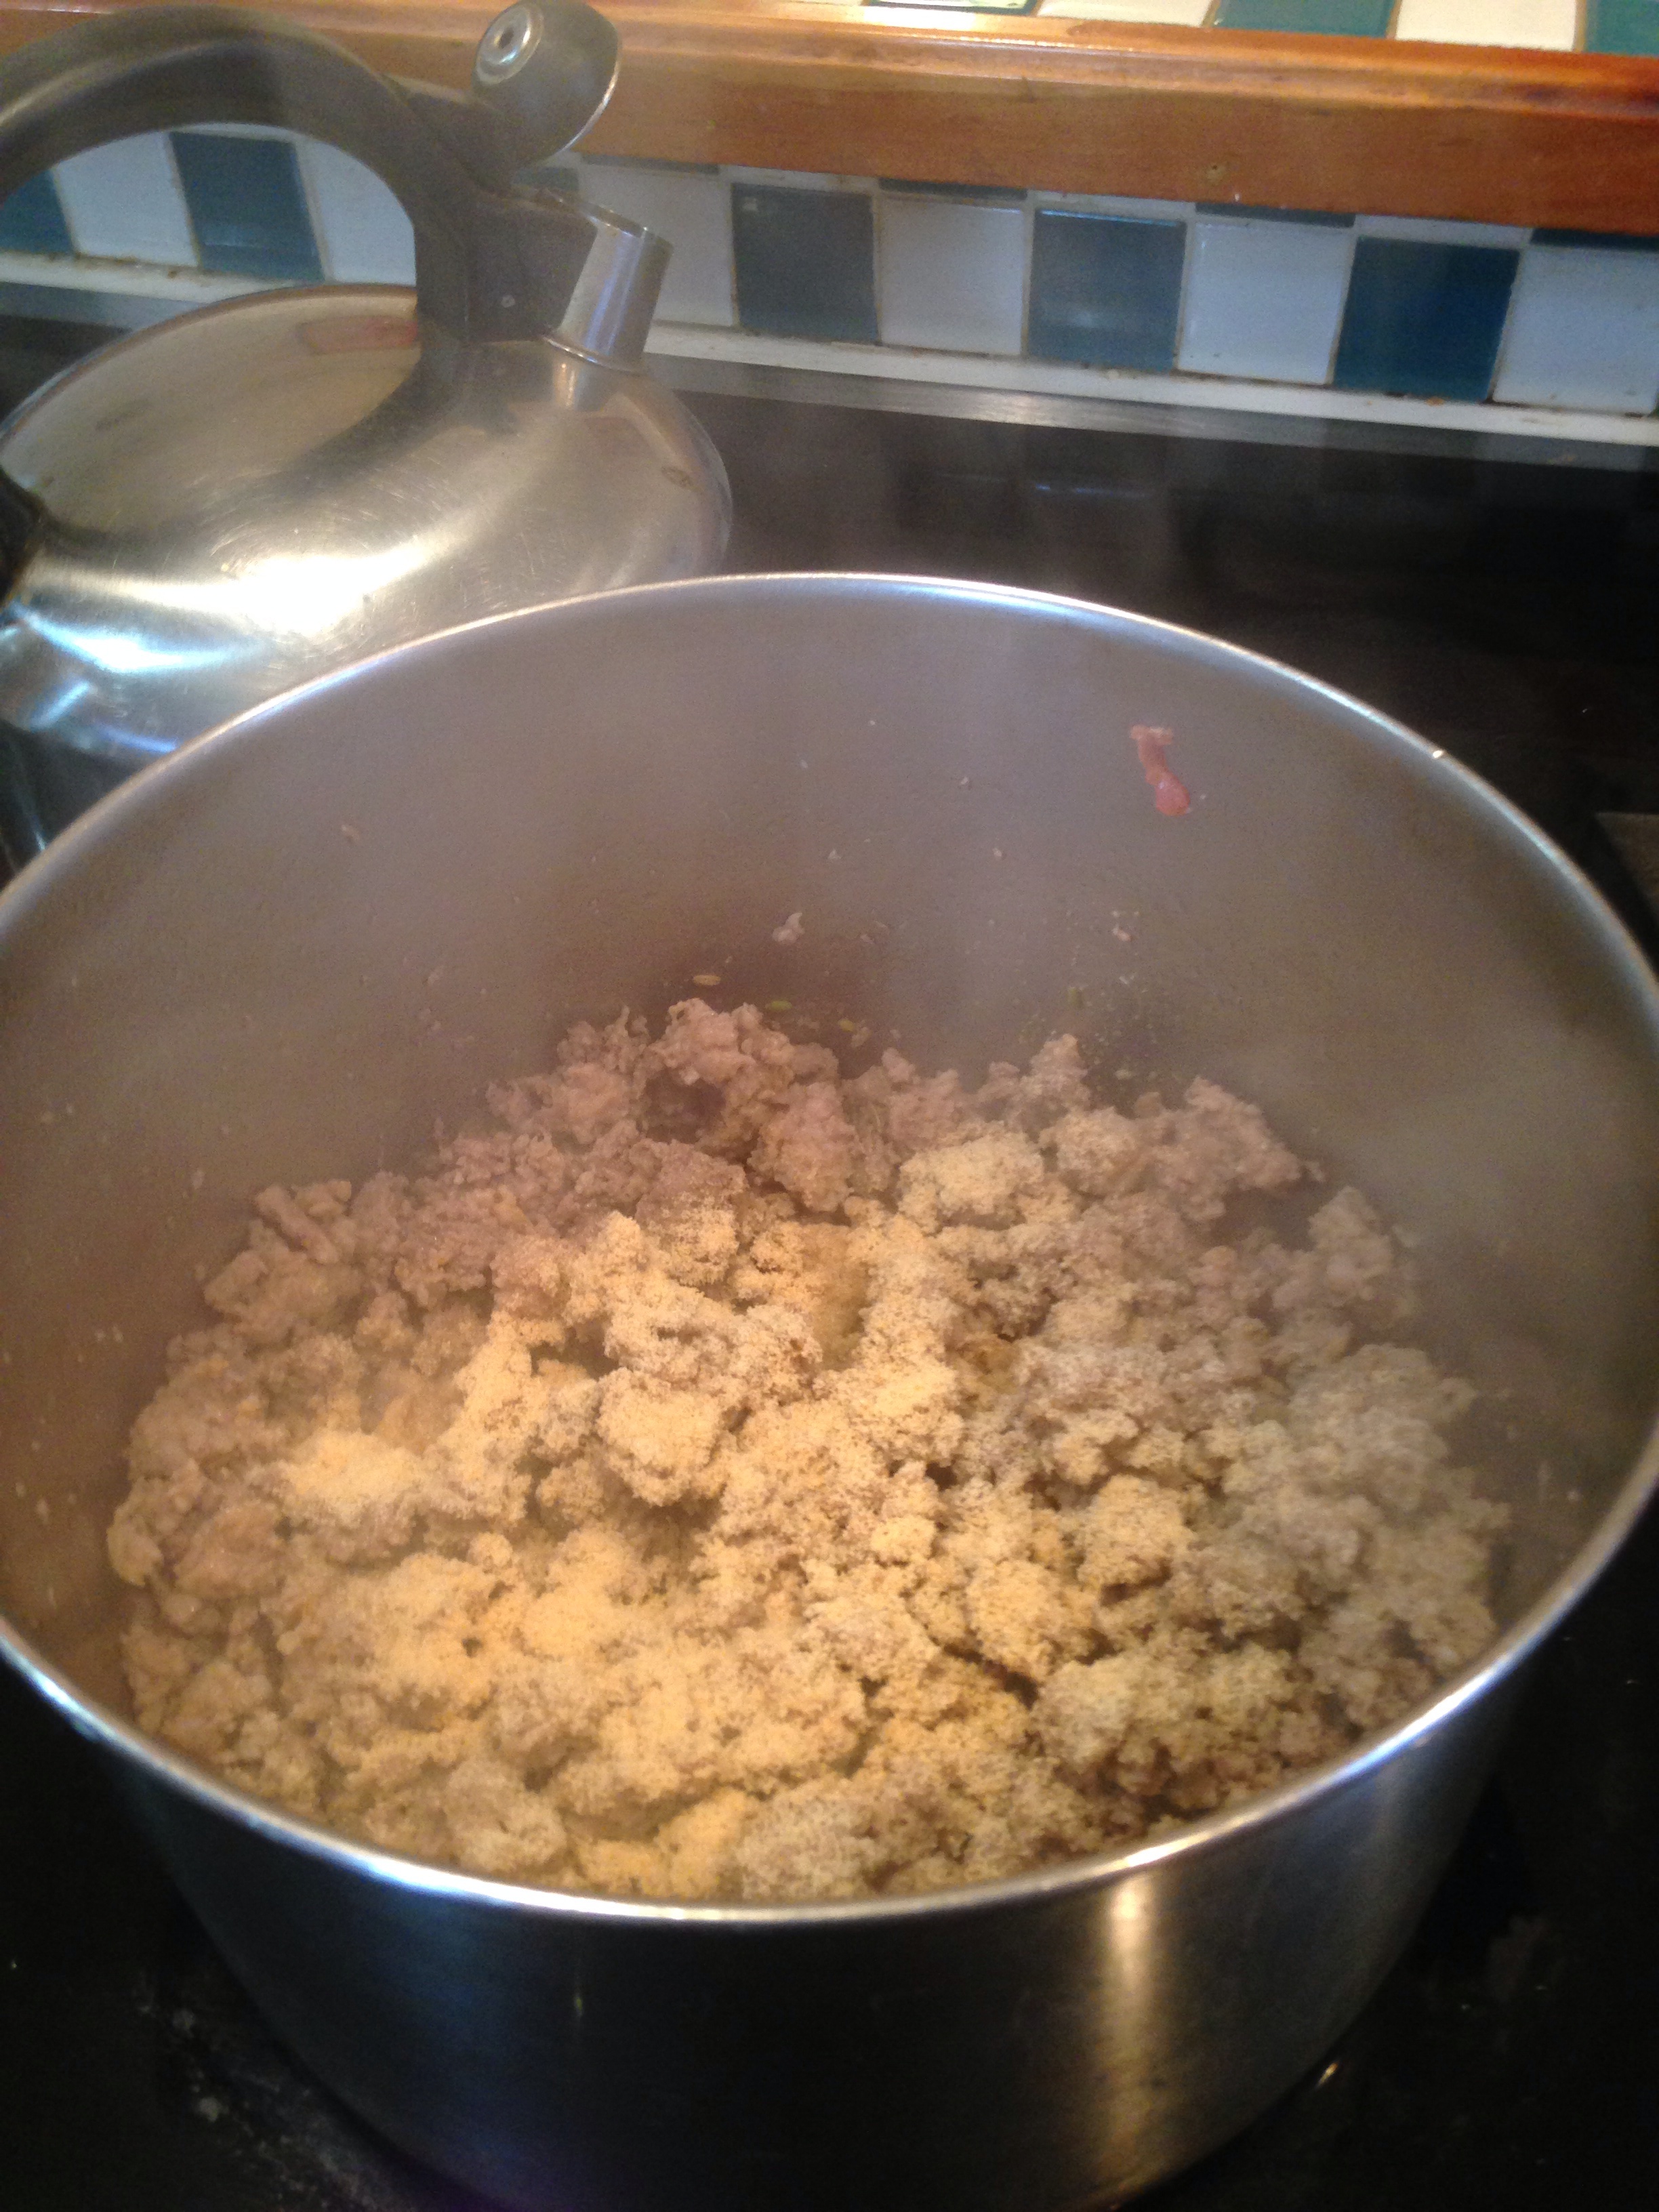
It’s ready to serve! Put into a bowl and season with a little more oil, or some butter, and test for whether more salt and pepper is needed.

image
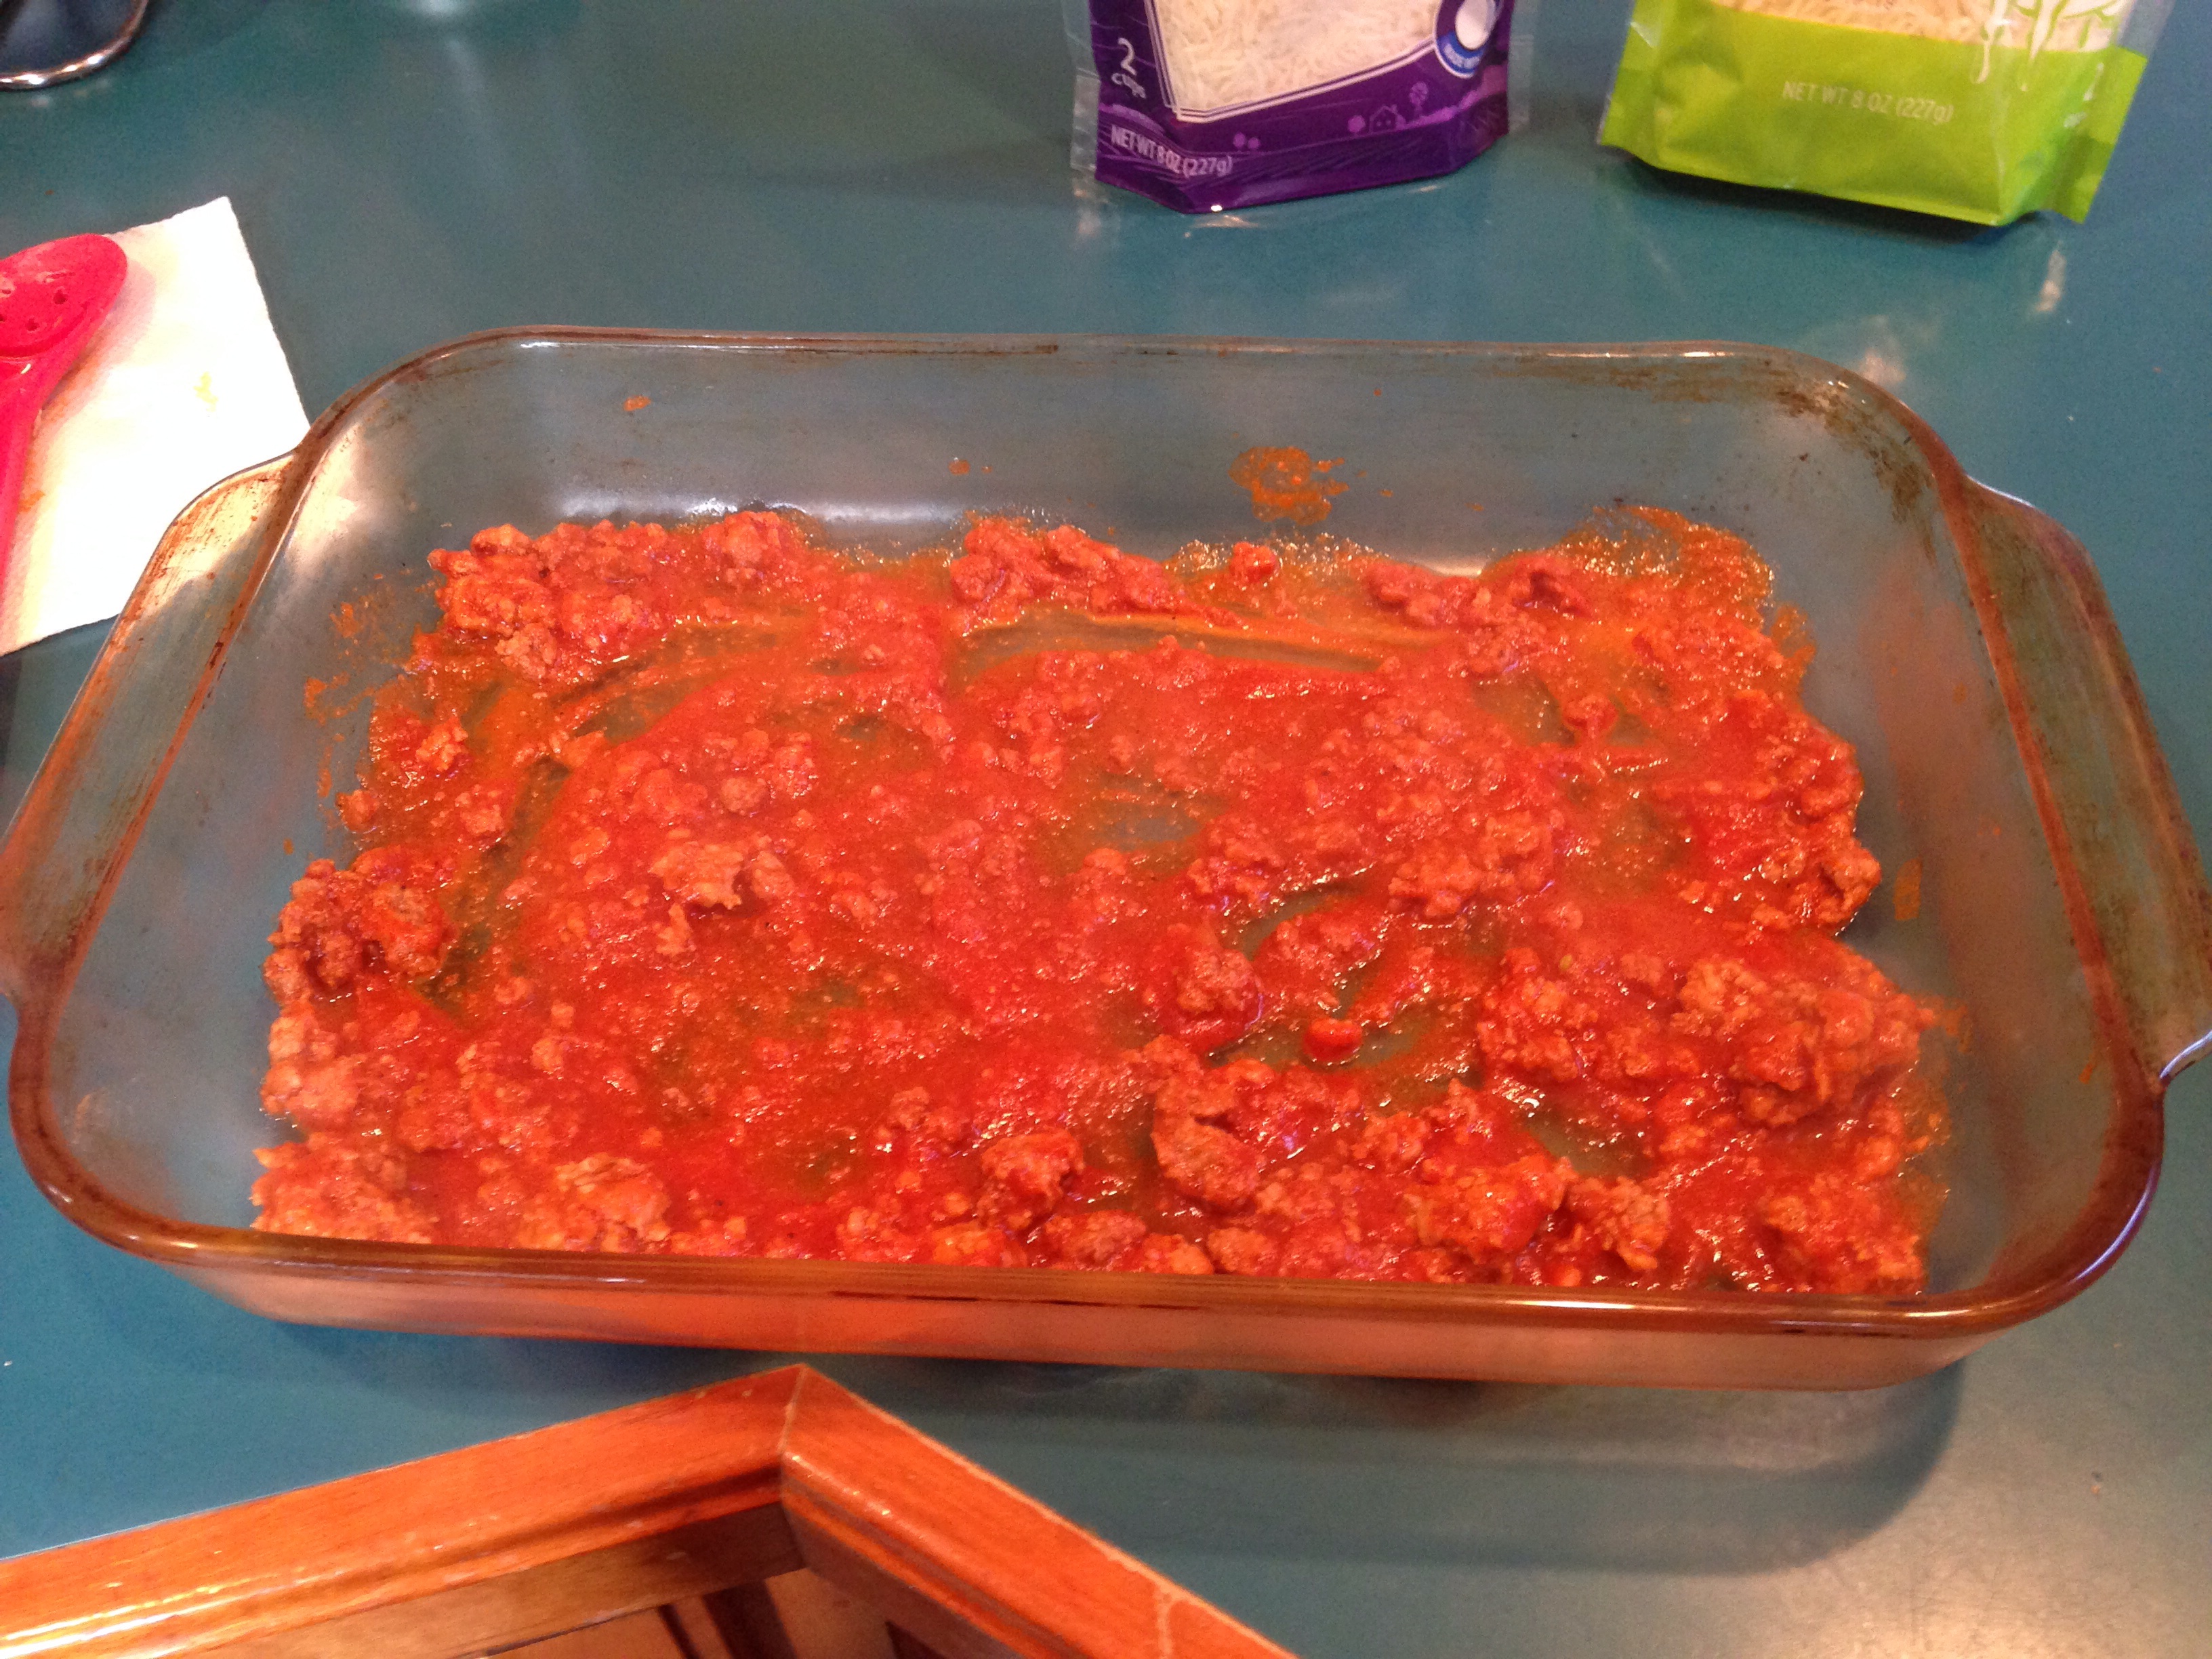
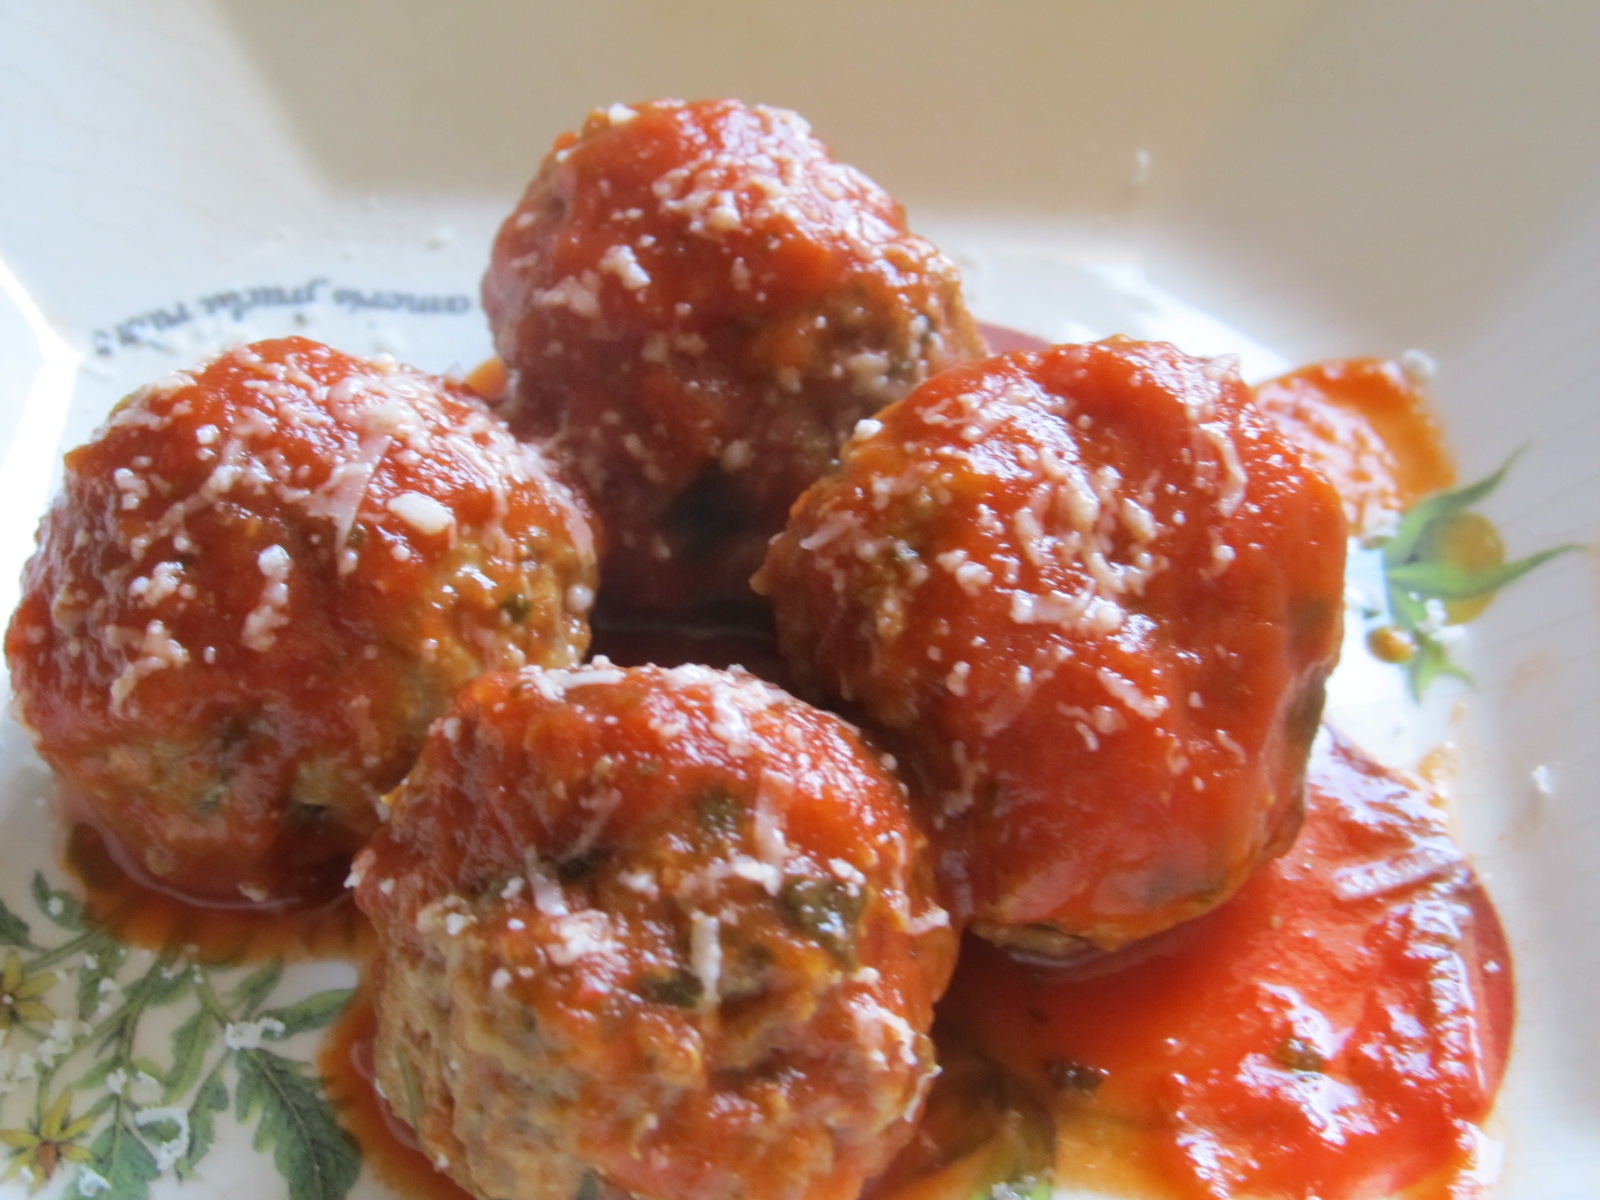
It’s great as is, but it’s also delicious with your favorite pasta sauce (with or without meat or a sprinkle of parmesan cheese – use the squash just like pasta). If you use a tomato-based sauce, though, let the squash sit for a few minutes first; otherwise, it picks up the liquid from the tomatoes and gets a little watery.

That’s it! Delicious and nutritious.

Has anyone here tried this squash before? Any fans of it with other recipes for using it that you love? Please share in the comments. 🙂

Quick and Easy Meatloaf (like Ma Used to Make)

I have two daughters. One loves meatloaf and the other hates it. So on  nights when the meatloaf-lover is home for supper and her sister isn’t, I like to whip it up for her, which on a work night takes a little planning ahead, since the most difficult part of this recipe is the 45 minutes – an hour it takes to bake.

Pre-heat the oven to 375 degrees.

In a large bowl, mix together:

1 – 2 lbs of ground beef or turkey (or a combination thereof) I tend to use grass-fed beef if I go that route, for less fat and better nutrition.

1 – 2 whole eggs

1 TBSP each of garlic powder and onion powder

1 tsp salt

1/2 tsp pepper

1/2 – 3/4 cup bread crumbs (I use panko seasoned crumbs)

1/2 cup tomato sauce (I usually open a 15 oz can, seasoned or plain, your choice). Reserve another cup of the sauce for the top of the loaf.

Optional: 2 TBSP of Worcestershire sauce

imageAfter mixing, form into an oblong loaf (sort of an exaggerated egg shape…longer and flatter is best for even cooking) and place into a bread pan, or a meatloaf pan, like the one I have here, with a little “rack” that lifts the finished loaf out when done.

imageMy mother always used green pepper slices for garnish along the top, so that’s what I like to do too. Pour the reserved tomato sauce over the top. This keeps the loaf nice and moist as it’s baking.

Put it in the oven, and in about an hour, you have your main course! I often use that time to make the side dishes – usually peeling and boiling potatoes for mashed potatoes, and some fresh green beans or peas.

imageIt’s a great autumn or winter meal!

Do you have some favorite additions to meatloaf YOU make? I’m always looking for new tastes to try, so please share in the comments! 🙂

Easy Baked Apples (Courtesy of Clara’s Great Depression Cooking)

image

The prepared apples before they go in the oven

It’s springtime where I live, but it’s still very chilly (in the 20 degrees farenheit range) and therefore still suitable for baking all sorts of things. While apples are traditionally an autumn fruit, for me, baked apples are good any time of the year.

This recipe is both simple and delicious. And it’s been around a while. I’ve made baked apples before, but this particular incarnation of them is courtesy of a lovely woman named Clara, who had a series of “Great Depression” cooking videos and cookbooks, in conjunction with her grandson. She lived in upstate New York, and although she has since passed (at the ripe age of 98), her work lives on. Here’s a link to the website that tells all about her: It’s called Great Depression Cooking With Clara.

So here is the simple recipe:

Wash, dry, and core three or four large apples.

Fill the cavities with 1 pat of butter and as much cinnamon sugar (three parts sugar to one part ground cinnamon) as they can hold. Dot with a pat of butter.

Put into a pan; pour in a little water to prevent burning, and bake at 350 degrees for about 30 minutes. Let cool a bit and eat!

You can watch Clara in action making these delicious and nutritious treats right here. I’m telling you, her videos are addictive, not only because of the simple recipes but also because she weaves in little memories of her and her family’s experiences during the Great Depression. She was such a wonderful, down-to-earth woman; I only wish I’d been able to meet her in person. Enjoy!

Christmas at the Homestead…and A Stollen Recipe

ChristmasWell, I suppose the stollen could  be served anytime. But we always had it on Christmas.

It’s a little fussy to make and takes a few hours, between rising, baking and frosting, but the results are worth it and SO good with coffee. The pic above is of a later years Christmas morning at the Homestead…the entire living room used to be filled like this when all of us kids lived at home. My poor mother would be wrapping until 2:00am most Christmases. 🙂

Here’s the stollen recipe; it’s from a 1965 edition of Family Circle Magazine, and my mother has been making this every year for my entire life. Once I got married and started my own family, I began making it as well – though mine never turn out as nice as Ma’s do!

STOLLEN
BREADS — Yeast

Bake at 350° for 35 minutes…makes 2 large loaves

1 cup seedless raisins
1 cup (8-ounce jar) mixed chopped candied fruits
1/4 cup orange juice
3/4 cup milk
1/2 cup sugar
1 teaspoon salt
1 cup (2 sticks) butter or margarine
2 envelopes active dry yeast
OR: 2 cakes compressed yeast
1/4 cup very warm water
2 eggs, beaten
1 teaspoon grated lemon rind
5 cups sifted regular flour
1 cup chopped blanched almonds (I use finely chopped walnuts instead)
1/4 teaspoon nutmeg
2 tablespoons cinnamon-sugar (I use a lot more)

imageCombine raisins, candied fruits, and orange juice in a small bowl.

imageScald milk with sugar, salt, and 1/2 cup (1 stick) of the butter or margarine; cool to lukewarm.

Sprinkle or crumble yeast into very warm water in a large bowl. (“Very warm” water should feel comfortably warm when dropped on wrist.) Stir until yeast dissolves, then stir in cooled milk mixture, eggs, and lemon rind.

imageBeat in 2 cups of the flour until smooth; stir in fruit mixture, almonds, and nutmeg, then beat in just enough of remaining 3 cups flour to make a stiff dough.

Knead until smooth and elastic on a lightly floured pastry cloth or board, adding only enough flour to keep dough from sticking (this is the part that’s always tough for me…figuring out how much to knead it, because there are ingredients in the dough that prevent it from being “smooth” and so difficult to tell if it’s “elastic” yet. If the dough springs back a little when you poke it, then it’s good). 🙂

imagePlace in a greased large bowl; cover with a clean towel.

imageLet rise in a warm place, away from draft, 2 hours, or until double in bulk. I use my oven’s “proofing” setting, because it keeps it draft-free and just warm enough.

imageIt should look like this on the left when ready for the next step.

Punch dough down; knead a few times; divide in half. imageRoll each into an oval, 15×9; place on a greased large cookie sheet. Melt remaining 1/2 cup (1 stick) butter or margarine in a small saucepan; brush part over each oval; sprinkle with cinnamon-sugar; imagefold in half lengthwise.

Cover; let rise again 1 hour, or until double in bulk. Brush again with part of the remaining melted butter or margarine.

imageBake in moderate oven (350°) 35 minutes, or until golden and loaves give a hollow sound when tapped. While hot, brush with remaining melted butter or margarine; cool on wire racks.

When cool, frost and decorate. imageI use a basic white icing (butter, confectioner’s sugar, a little vanilla and a couple tablespoons of milk), decorated with cut red and green cherries.

It’s really great with coffee…and with just the white frosting, you could serve it anytime!

My Strange Way of Preparing a Turkey

fe65fd80-a328-4185-8757-d59fe6288b08

photo courtesy of Pillsbury

As promised in yesterday’s post, here’s a short post about a strange method of turkey preparation that is very old-fashioned but also really reliable for a moist, delicious turkey.

It was passed down from my great-grandmother to my grandmother, and then to my mother (who still roasts her turkey this way as well, when she cooks a turkey) and then to me.

My mother always called it “tucking in the turkey and putting him to bed”.

imageBecause we don’t use foil or a cooking bag, or anything like that. We use a portion of a clean but old-enough-to-be-cut-up bed sheet.

Yes, a bed sheet.


imageI should probably start by saying another way we’re weird is that once we stuff the turkey, we sew up with the edges of the cavity with waxed string and a needle. I’m pretty sure it’s one of the first lessons in hand sewing I ever had, watching my mother seal the stuffing into the bird each year. 🙂 I suppose it’s also what assured me that I could never go into the medical profession, LOL.


But back to “putting the turkey to bed”.

Once your turkey is stuffed and placed in the roasting pan, with whatever seasonings you want sprinkled over him, you take your portion of clean sheet and get it soaking wet (as in dripping) in hot water. imageSpread it over the turkey like so, and tuck in all the edges (that’s how you put him to bed 🙂 ).

Then take a little Crisco on your fingers and smear it all over the sheet. It will be a bit difficult, because the sheet is wet, and water and oil don’t mix too well. But trust me, it helps the skin beneath to brown beautifully, while keeping the turkey meat moist and flavorful. Pour some hot water into the bottom of the pan (pouring over the top of the turkey if you want), and put the whole thing into a low (325 degree) oven.

As the turkey cooks, keep the sheet as moist as possible by frequent basting with first the hot water from the bottom of the pan, and then, as time goes on, with the juices from the cooking turkey.

When it’s finished, the sheet will be browned and even crispy itself in places (to the touch…trust me, I’ve never tried to eat the sheet!), but once it’s removed, the turkey beneath is perfection.

It looks funny and seems strange, but it really works. Happy Thanksgiving to one and all! 🙂


Succulent Roasted Chicken Breasts

image

Succulent, roasted chicken breasts

This is the easiest recipe for healthy and tasty roasted chicken that I’ve ever found. It’s based on Mediterranean principles, so it does use a liberal amount of extra virgin olive oil. However, if you remove the skin before eating, you won’t be consuming most of that fat.

We have these at least once a week at our house, and they make great leftovers or a moist chicken salad or chicken for soup.

It only requires a few ingredients:

  • two to six large chicken breasts with skin and bone
  • about a half cup of extra virgin olive oil
  • salt
  • pepper
  • garlic powder
  • onion powder
  • dried rosemary

That’s it. Oh, and about an hour of time.

Preheat your oven to 400 degrees.

imageLine a shallow baking pan with foil and spritz with non-stick cooking spray.

Place the rinsed and dried chicken breasts evenly on the pan.

imageDrizzle with the olive oil. If you want an evenly browned and crisped skin, rub it across the skin with your fingers or the back of a tablespoon.

image

Sprinkle generously with salt, pepper, garlic power, and onion powder.

imageTake about a tablespoon of dried rosemary in your hand and crunch it up to make smaller pieces and release the fragrance and flavor. Sprinkle across the chicken.

imagePop it in the preheated oven for about an hour – and you have a sizzling, succulent main dish!

Quick and Easy Lasagna

Baked-Lasagna-photo-by-Sarah-Franzen-1024x682

Photo courtesy of Sarah Franzen

So, I must be on an Italian food kick lately (maybe it’s the wintery weather that inspires me!), because I made this over the weekend for a six person, family pre-show dinner (we had lots of leftovers). It’s a great recipe for feeding a crowd (just make two pans to feed up to 18 people) and a lot easier and quicker to make than most people think, especially if you opt to use the “no-boil” lasagna noodles.

The pictures in the steps of the recipe below feature the traditional kind, but that was only because my husband “couldn’t find” the no-boil kind in the store. Other than adding about 15 minutes to the prep time, using traditional noodles doesn’t change anything in this recipe.

Here are the ingredients:

  • 1 package of lasagna noodles (boiled if traditional, or right from the box if the no-boil kind)
  • 1 – 2 regular-sized jars of your favorite sauce
  • 1 lb. lean ground beef (or turkey)
  • 1 lb bulk (uncased) sweet (or hot, if you like spicy) Italian sausage
  • 1 TBSP garlic powder
  • 1 TBSP onion powder
  • 1 tsp dried oregano
  • 1 tsp dried basil
  • 1 tsp ground pepper and salt
  • 1 lb part-skim ricotta cheese
  • 1 whole egg
  • 1/2 lb. 4% milkfat cottage cheese
  • at least 1 lb of grated mozzarella cheese

Preheat the oven to 350 degrees.

imageIn a large sauce pan, heat a TBSP olive oil on medium high heat and add your ground beef and Italian sausage.


imageCook and stir until browned, but be careful not to burn. If your meat isn’t especially lean, be sure to drain off any fat before the next step.

imageAdd in all your spices and your jarred sauce.

I sometimes throw in some diced tomatoes, canned or fresh, if I want a little more texture.

Let it cook until it comes to a simmer, with little bubbles, but not a full boil.

Set aside for a bit while you ready the noodles (boiled and drained for traditional, removed from the package for the no-boil kind).

Also, at this point it’s a good idea to get the cheeses out.

Get out a rectangular pan. image9×13 inches is great. Mine is glass, which I think works better than metal, but I’ve seen other use the coated metal pans just fine.

imageSpread a thin layer of the meat sauce on the bottom of the pan.


image

In a medium mixing bowl, combine the ricotta cheese (NOT the cottage cheese), the basil, oregano, and egg. Mix well.

Now you’re ready to assemble the lasagna.

image

Atop the thin layer of sauce in the bottom of the pan, arrange noodles length-wise and slightly overlapping.


imageSpread half the ricotta mixture on the noodles, followed by half the cottage cheese. That’s a secret ingredient, as it makes the cheese part of the lasagna really creamy. Sprinkle the whole with a little of the shredded mozzarella. Cover all this with another thin layer of meat sauce.

imageMy sweet Mama taught me to put the second layer of noodles on horizontally (another neat trick) to help the lasagna maintain its structure on the plate, once it’s baked and sliced. Because the noodles are too long for the width of the pan, every noodle has the opposite end folded under and tucked in. Repeat with another layer of cheese and a layer of sauce, and then a final layer of noodles length-wise again.

imageTop with one last layer of meat sauce, and then sprinkle the rest of the mozzarella on top. I like to put the whole thing on a foil-lined cookie pan, to catch any bubbled-up spills.

Pop it in the preheated oven for about 45 minutes, uncovered for traditional noodles, and covered with foil if you used no-bake noodles.

That’s it! The entire process from start to finished product on the table takes about an hour and 15 minutes. Add a salad or some crusty bread if you want (and a nice glass of red wine!), and you have a great, filling meal that’s enough for a crowd but fit for company, too. 🙂

30 Minute (Delicious!) Italian Meatballs

IMG_00423

photo: courtesy of recipeinnovations.com

While I am not of Italian descent, my sweet, 100% Italian mother-in-law gave me her recipe for homemade meatballs, passed down from her mother, and her mother’s mother, who were all from Ancona, Italy, on the Adriatic Sea.

Her recipe requires overnight preparation and at least an hour of cooking, since simmering the meatballs in a pot of homemade sauce is the final step. However, although her recipe is of course much more authentic and to the trained palate undoubtedly tastes superior, it nevertheless serves as the basis for my “quick”, a bit healthier, and almost-as-tasty version.

The ingredients:

1 lb lean ground beef (or you can use ground turkey)

1/2 cup seasoned bread crumbs

1 whole egg

1/2 cup grated parmesan cheese

1 tsp. salt and pepper

1 tsp. each garlic powder and onion powder

1 tsp. dried basil (or 6 leaves fresh, chopped fine)image


Begin by putting the ground beef in a medium-sized bowl.

imageAdd all of the other ingredients and mix. I suggest hand mixing, since it blends everything more fully, but be sure to remove any rings first! 🙂


For health reasons, I like to bake, rather than pan-fry my meatballs, so I pre-heat the oven to 400 degrees and prepare a pan (mine is round), lining it with foil and sometimes giving it a spritz of non-stick cooking spray for easy clean up.

image


Roll the meatballs out to your preferred size (keep in mind: the bigger the meatball, the longer the cooking time). I like mine this size.

A lb. of ground beef makes 10-12 meatballs, in the size I like.

image


After they’re on the pan and the oven is hot, put them in and bake for 20-25 minutes.


image
They come out nicely browned and ready to pop into sauce, use in a meatball sub, or just eat plain. 🙂

It’s so easy that there’s no reason not to be able to have homemade meatballs even on a busy weeknight after a day of work.

Mangia! And happy eating.

Vintage Cookbooks

cookbook frontI love cookbooks. I must have upwards of 50 of them, tucked in my “cookbook cupboard” or lined on my little “cookbook shelf” under the slot in the kitchen cabinetry where the microwave oven is.

I collect them and enjoy trying recipes from them.

Cook books_edited frame-1

Women’s Day Encyclopedia of Cookery cookbook set

But my all-time favorite is a set my parents gave me about 15 years ago.

It’s the same exact set my mother often used when I was growing up (and my mother, I have to say, is a consummate cook…she can do fancy and five-course, or simple and filling. We had the simple and filling most often when I was growing up because, well, there were nine of us to feed every day, and only one salary).


As a kid, I loved this set, not only because its publication year was the one in which I was born, but also because it came in encyclopedia form, and I was the kind of kid who read everything. These books are stuffed full of interesting history and information about the various ingredients, foods, and the cultures that inspired them. Plus, the title has Cookery in it. I love that word in and of itself. cookbook closeup

cookbook open2

Luscious pictures of cakes from the “chocolate” section

cookbook open

Awesome 1960’s illustration from the same “chocolate” section


Oh, and it’s got pictures and illustrations, too, all delightfully vintage. Which means, I guess, that I’m vintage too, since the books are as old as me. 🙂


I really enjoy looking up recipes (there’s an awesome homemade custard recipe, pies, breads, holiday foods…and of course recipes from just about every culture in the world that you can imagine, since it’s an encyclopedia of cooking).


corn chowder

Today, I looked in Volume 3 to find a quick recipe for corn chowder, since that’s what my kids really wanted for lunch (and I knew I had the ingredients – or some that were close enough – on hand). A few minor substitutions later (i.e. diced ham instead of salt pork, and regular milk instead of evaporated), and I had lunch ready for them.

Anyone else have a favorite cookbook – or set?

Hearty Mushroom Stew

I fondly call this kind of food peasant fare, hearkening back to my ancestors in Ireland, Germany, and England: meals that are simple, hearty, and satisfying. It’s a dish I adapted from a recipe I stumbled upon online years ago and tweaked to my own liking, perfect for the cooler autumn days we’ve been having (though I’ve also enjoyed it many a time in the midst of a blustery, snowy day as well)

Mushroom Stew 1

Mushroom stew, served with a crusty hunk of bread

Mushroom stew recipe

Serves 4 (hearty portions)

Ingredients

  • 1, to 1.5 lb of Portobello and white sliced or whole mushrooms mixed together (I’ve used just Portobello with fantastic results as well, but the mix of mushrooms adds to the variety of textures)
  • ¼ cup of butter or margarine
  • 1 large sweet (or Vidalia) onion, chopped pretty fine
  • 4 -5 cloves minced garlic (you can use less if you’re not a garlic lover like me)
  • A half teaspoon of thyme powder (or a few springs of fresh thyme taken from the stems and chopped)
  • ¼ cup or so of red wine or beef stock
  • ½ cup of full-fat coconut milk or heavy cream (I prefer the coconut milk because it makes the stew really creamy and adds a hint of flavor that is lovely)
  • 2 green onions, chopped (these provide a dash of color in an otherwise earth-toned dish as well)
  • Sea salt and ground black pepper to taste

Preparation

  1. Heat a large, flat soup pan or skillet over a medium heat. Add the butter or margarine.
  2. Stir-in the onions and garlic. Cook them for a few minutes until they begin to brown.
  3. Add the mushrooms, sea salt and black pepper and give a few stirs. Continue to cook the mixture until the moisture released by the mushrooms evaporates.
  4. Add the wine or stock as well as the heavy cream or coconut milk and stir.
  5. Simmer for a few minutes to thicken and add in the thyme leaves and green onions.

And there you have it! Delicious, healthy, and filling…perfect for chilly weather but good anytime!